
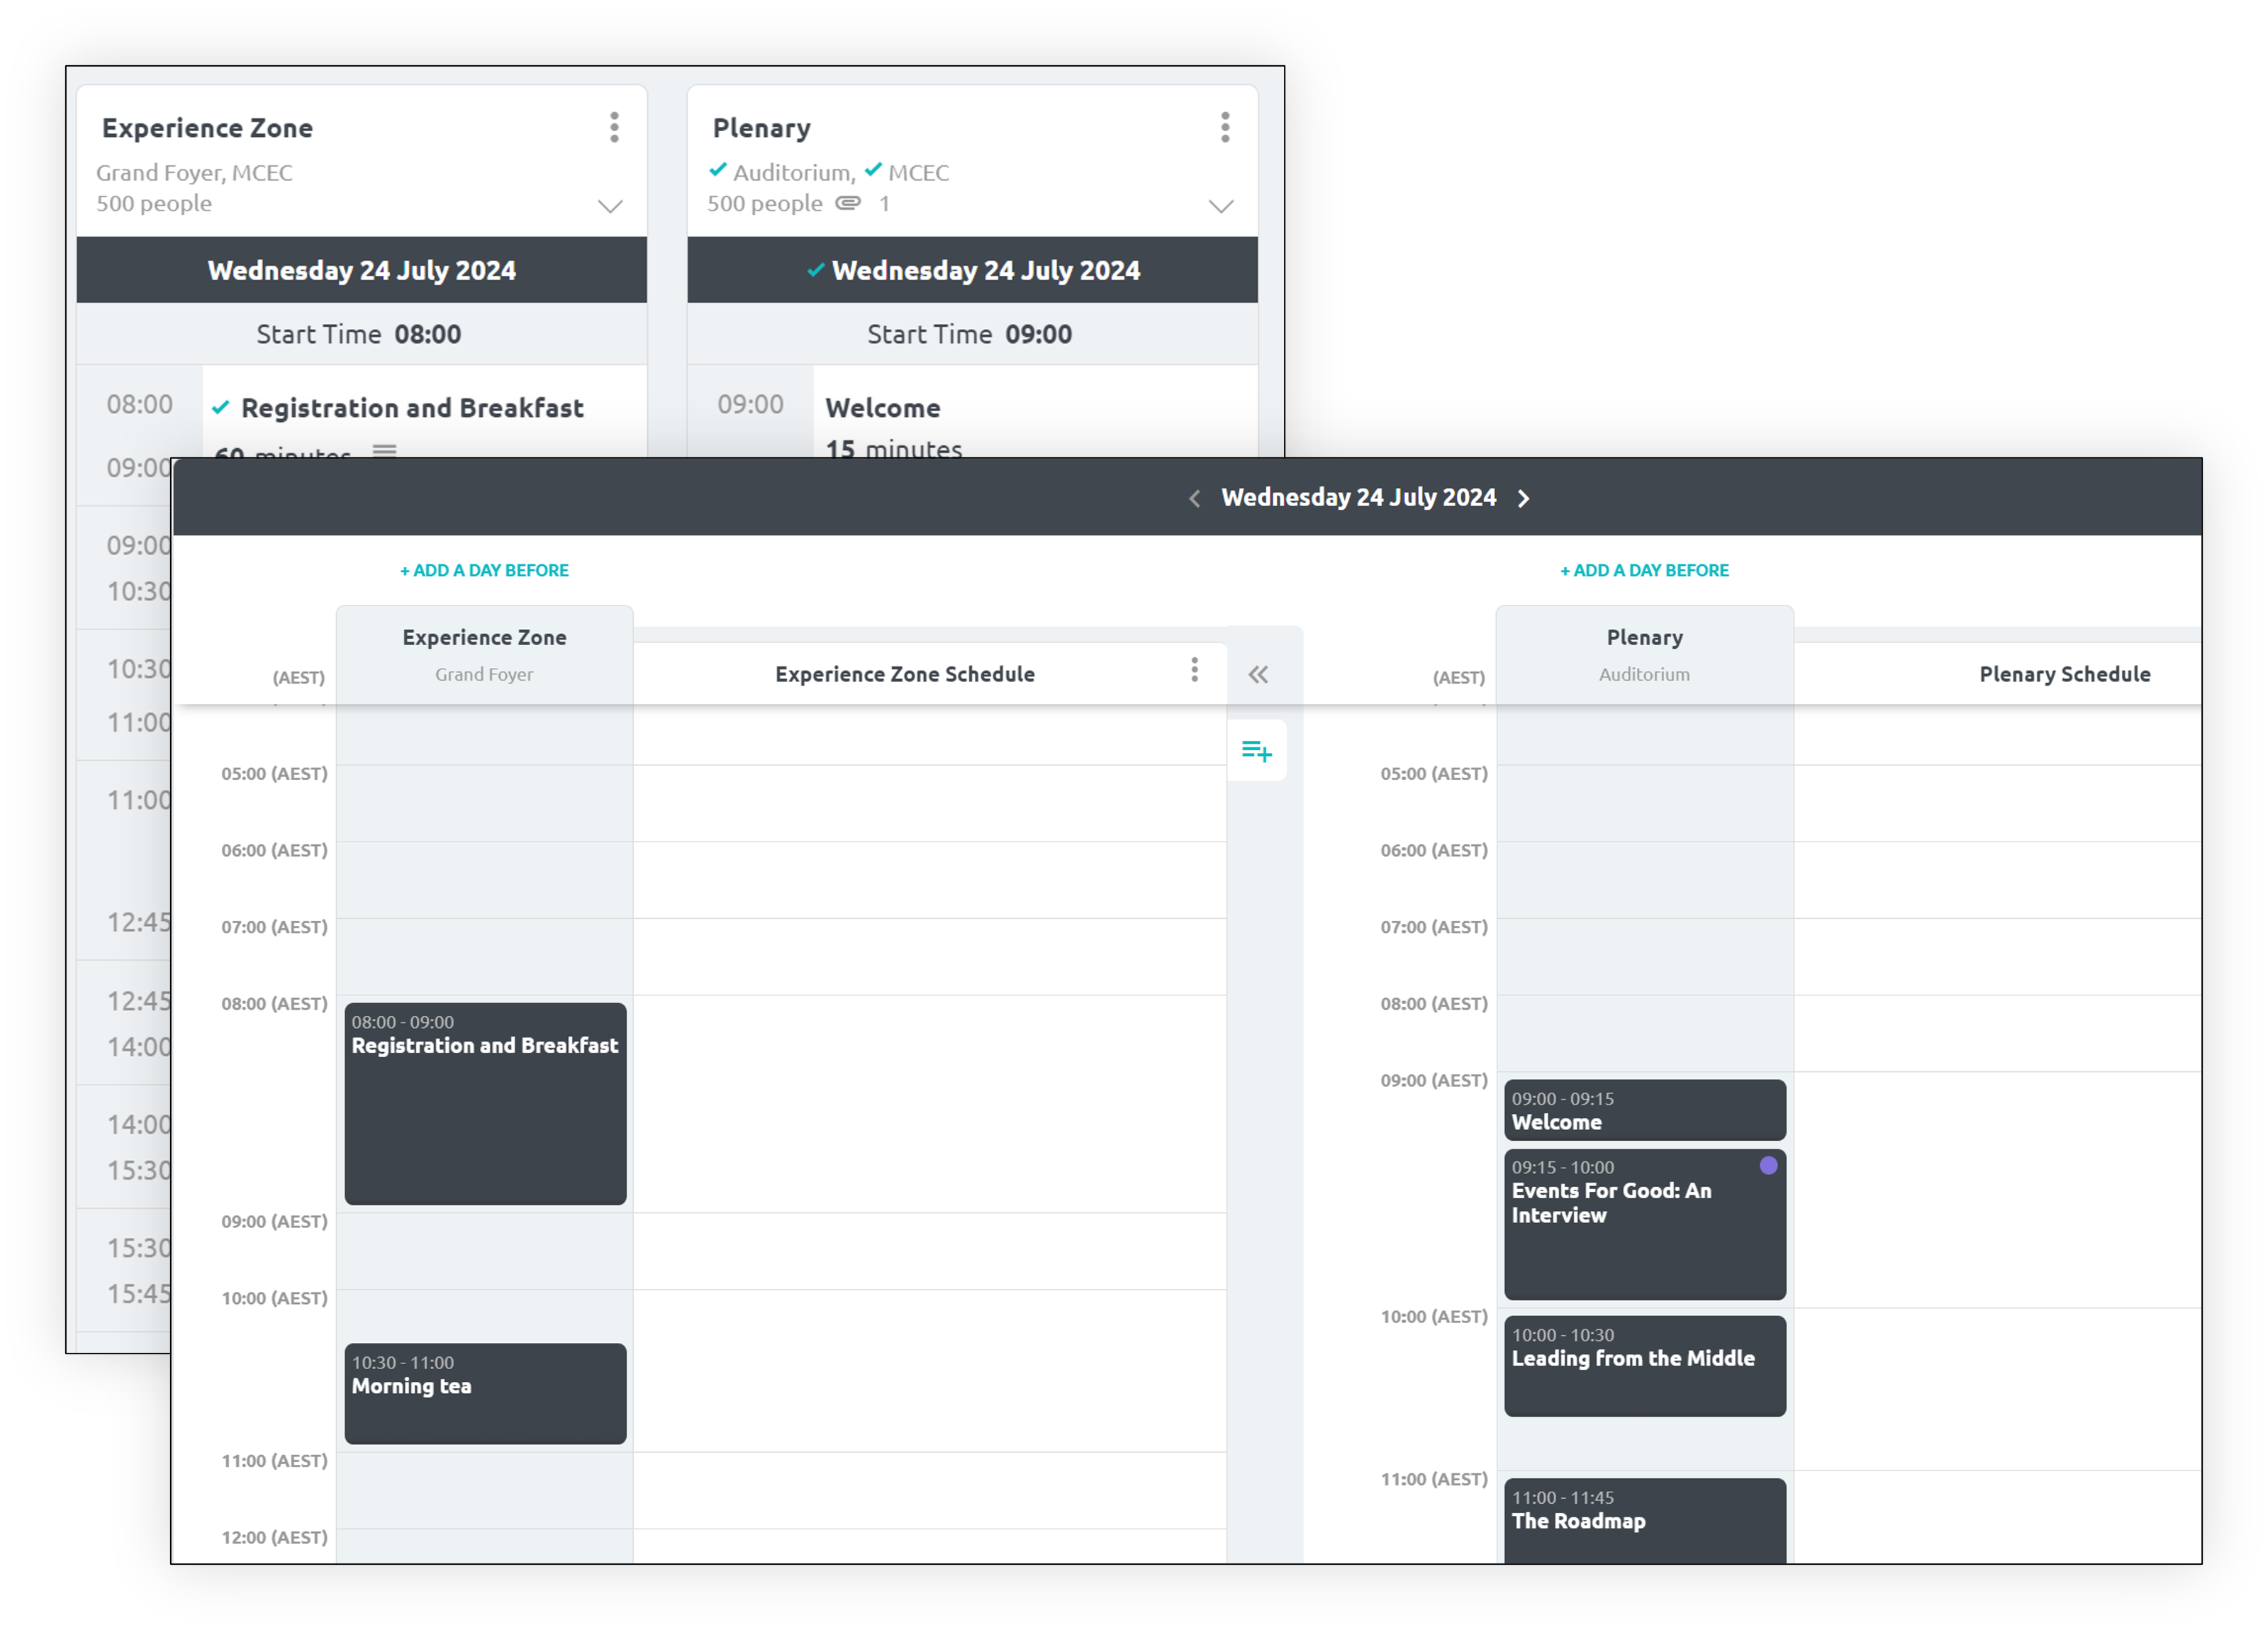
On site schedule; planning set up, run and packdown of your event
The on site schedule, also known as the run sheet or run of show is aceessed via the left hand nav panel

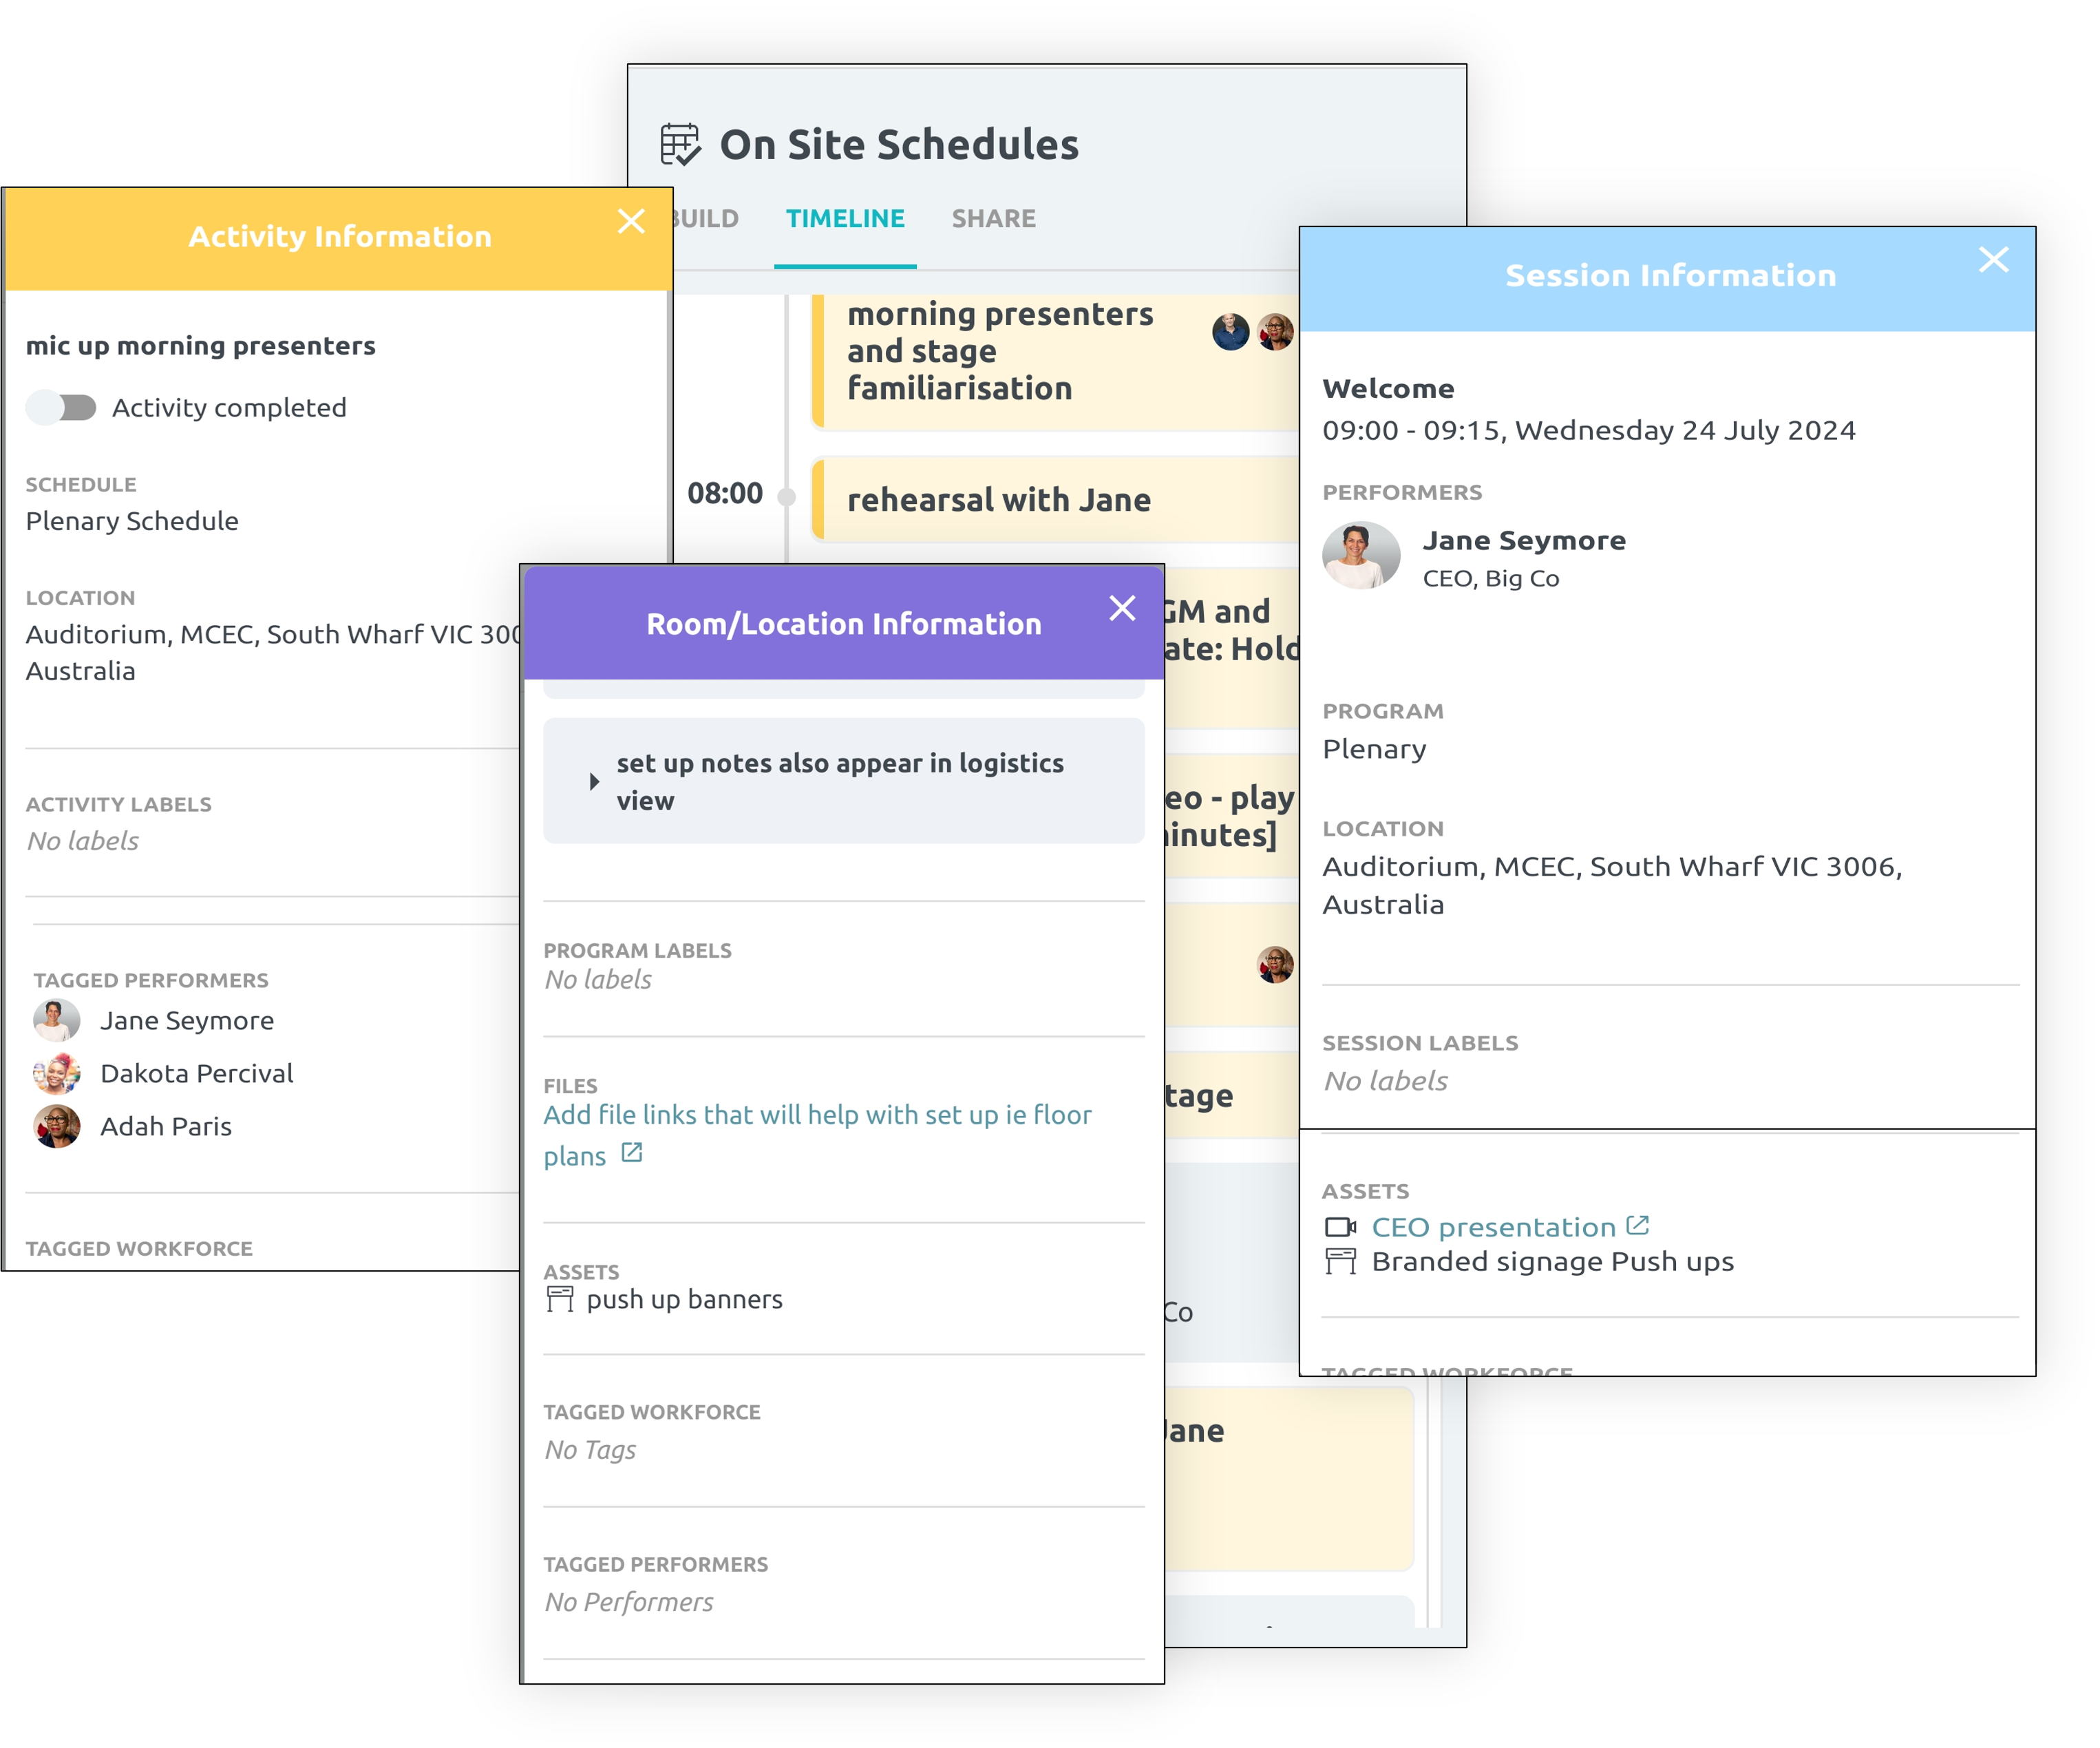
For every room/location you use there will be furniture and equipment to set up, signage to put in place, people to be briefed, etc. the list goes on
All of this needs careful planning if you want the event to run smoothly and for that you need schedules
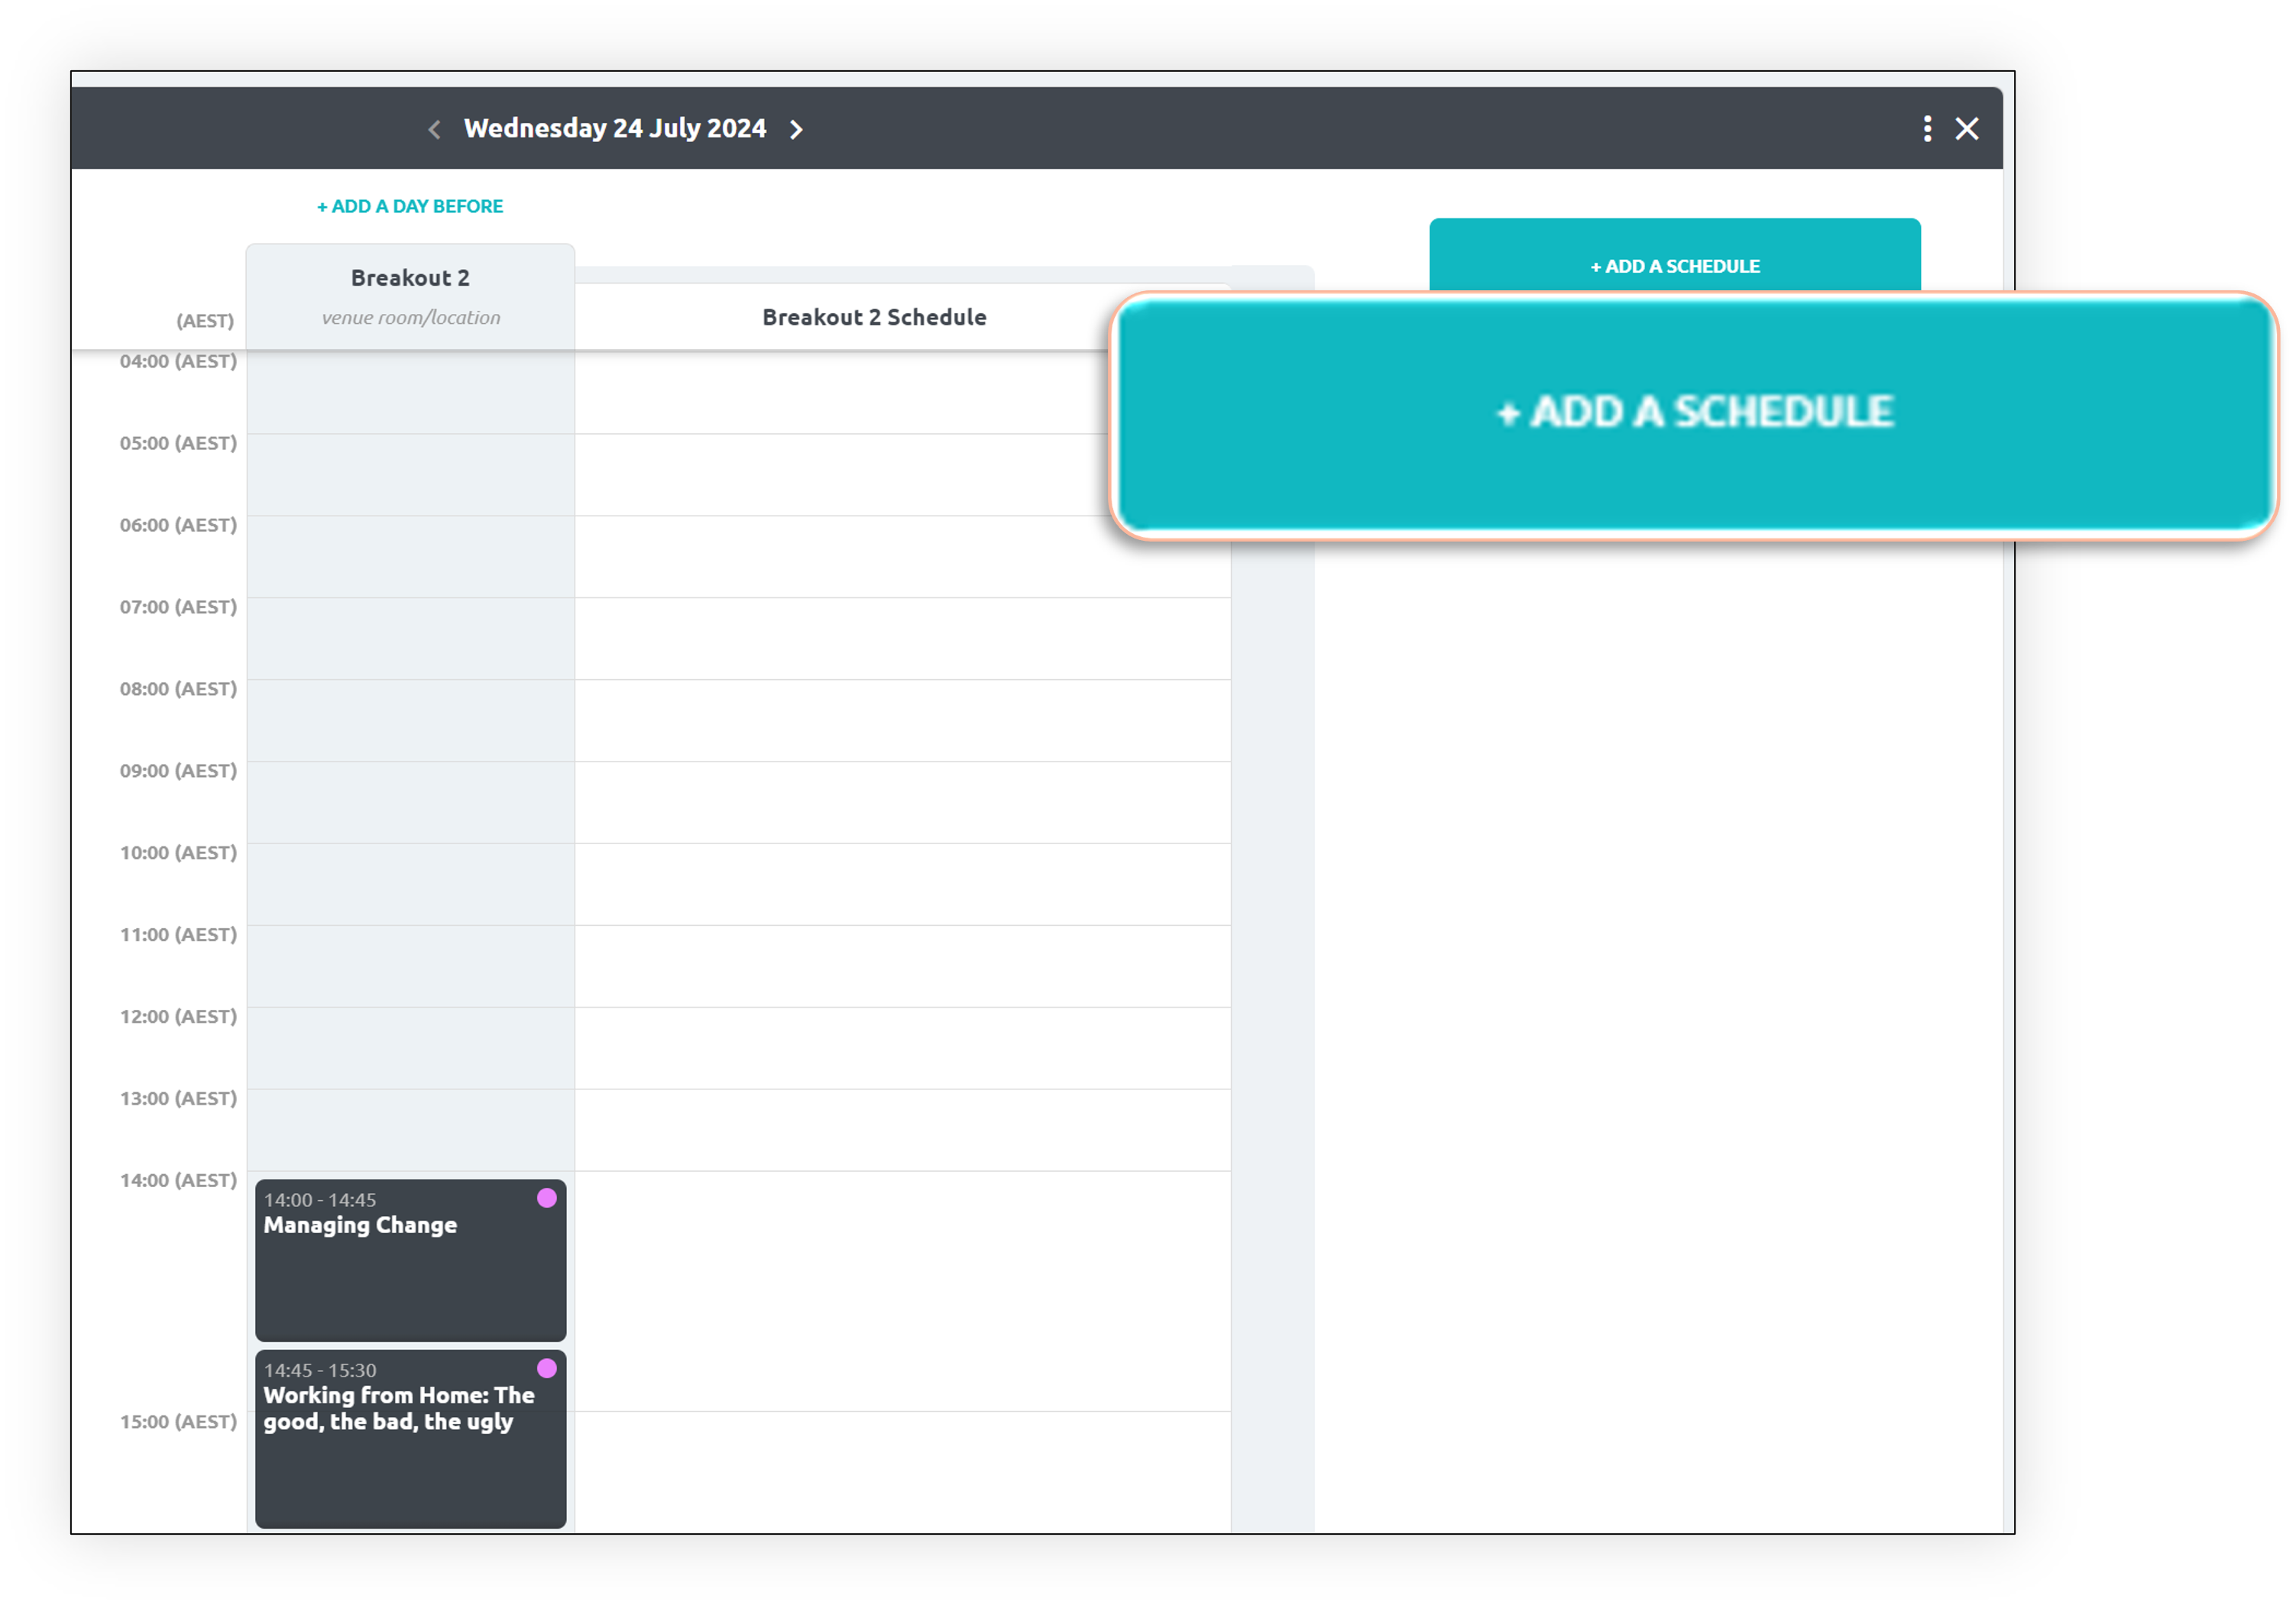
Joi will automatically create a schedule for every room/location you have in the program
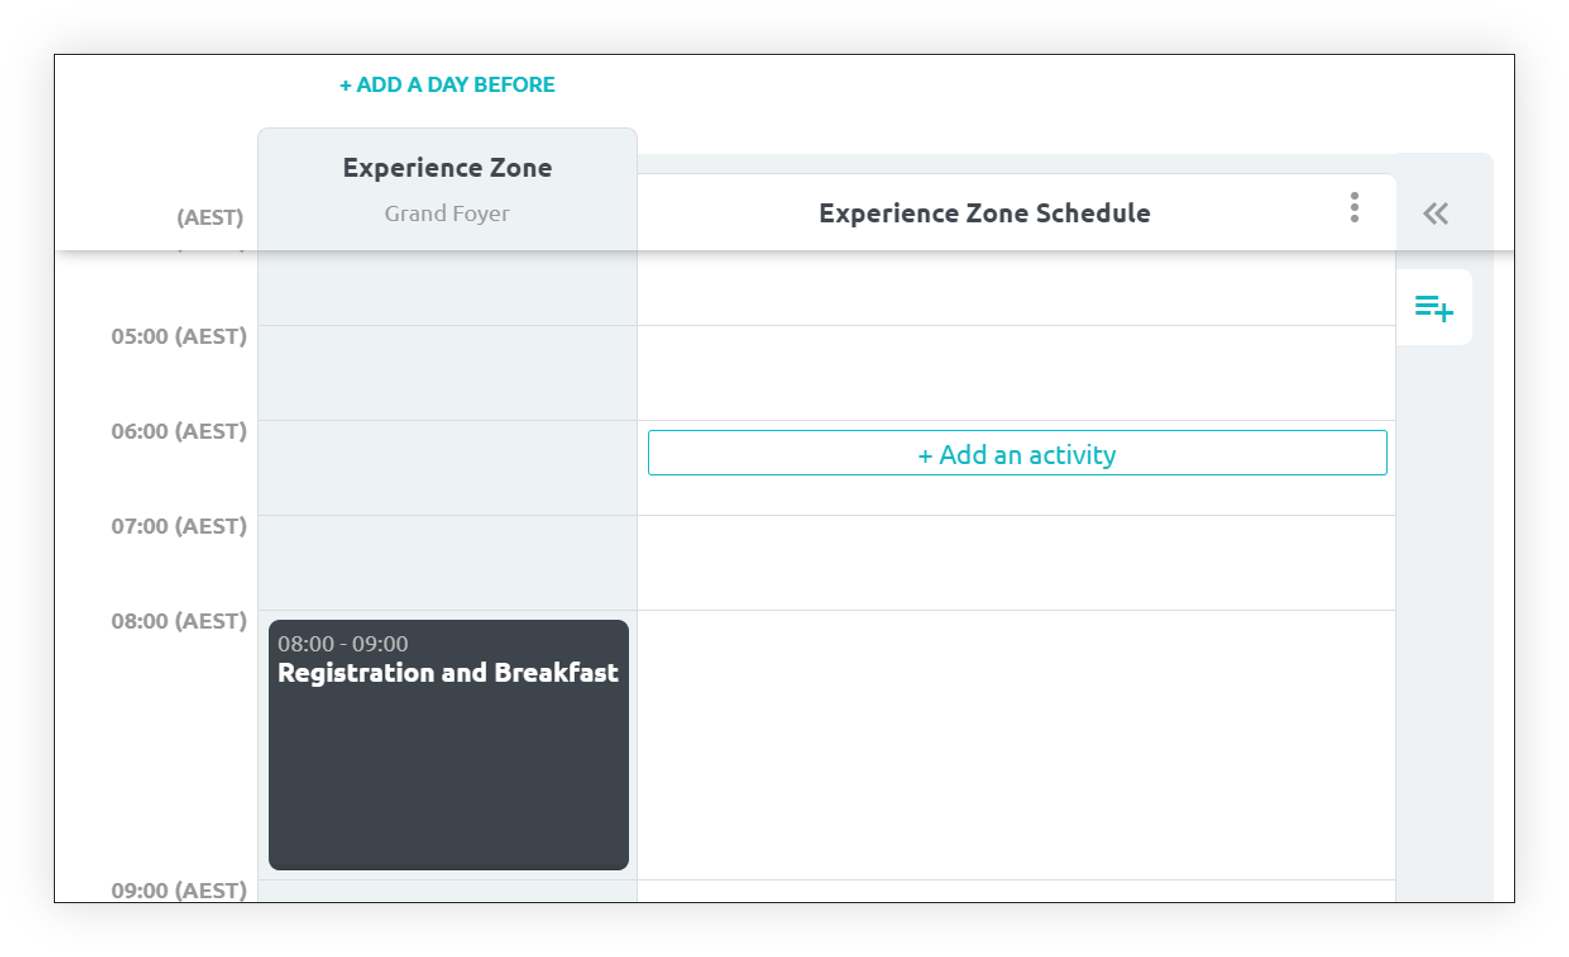
You have your schedules, you are now ready to start planning. Enter all the activities you need to do to set up, run and packdown your event
Click anywhere in the schedule to activate
Hover over the schedule and the 'add activity' option will appear
Click to open the activity pop up
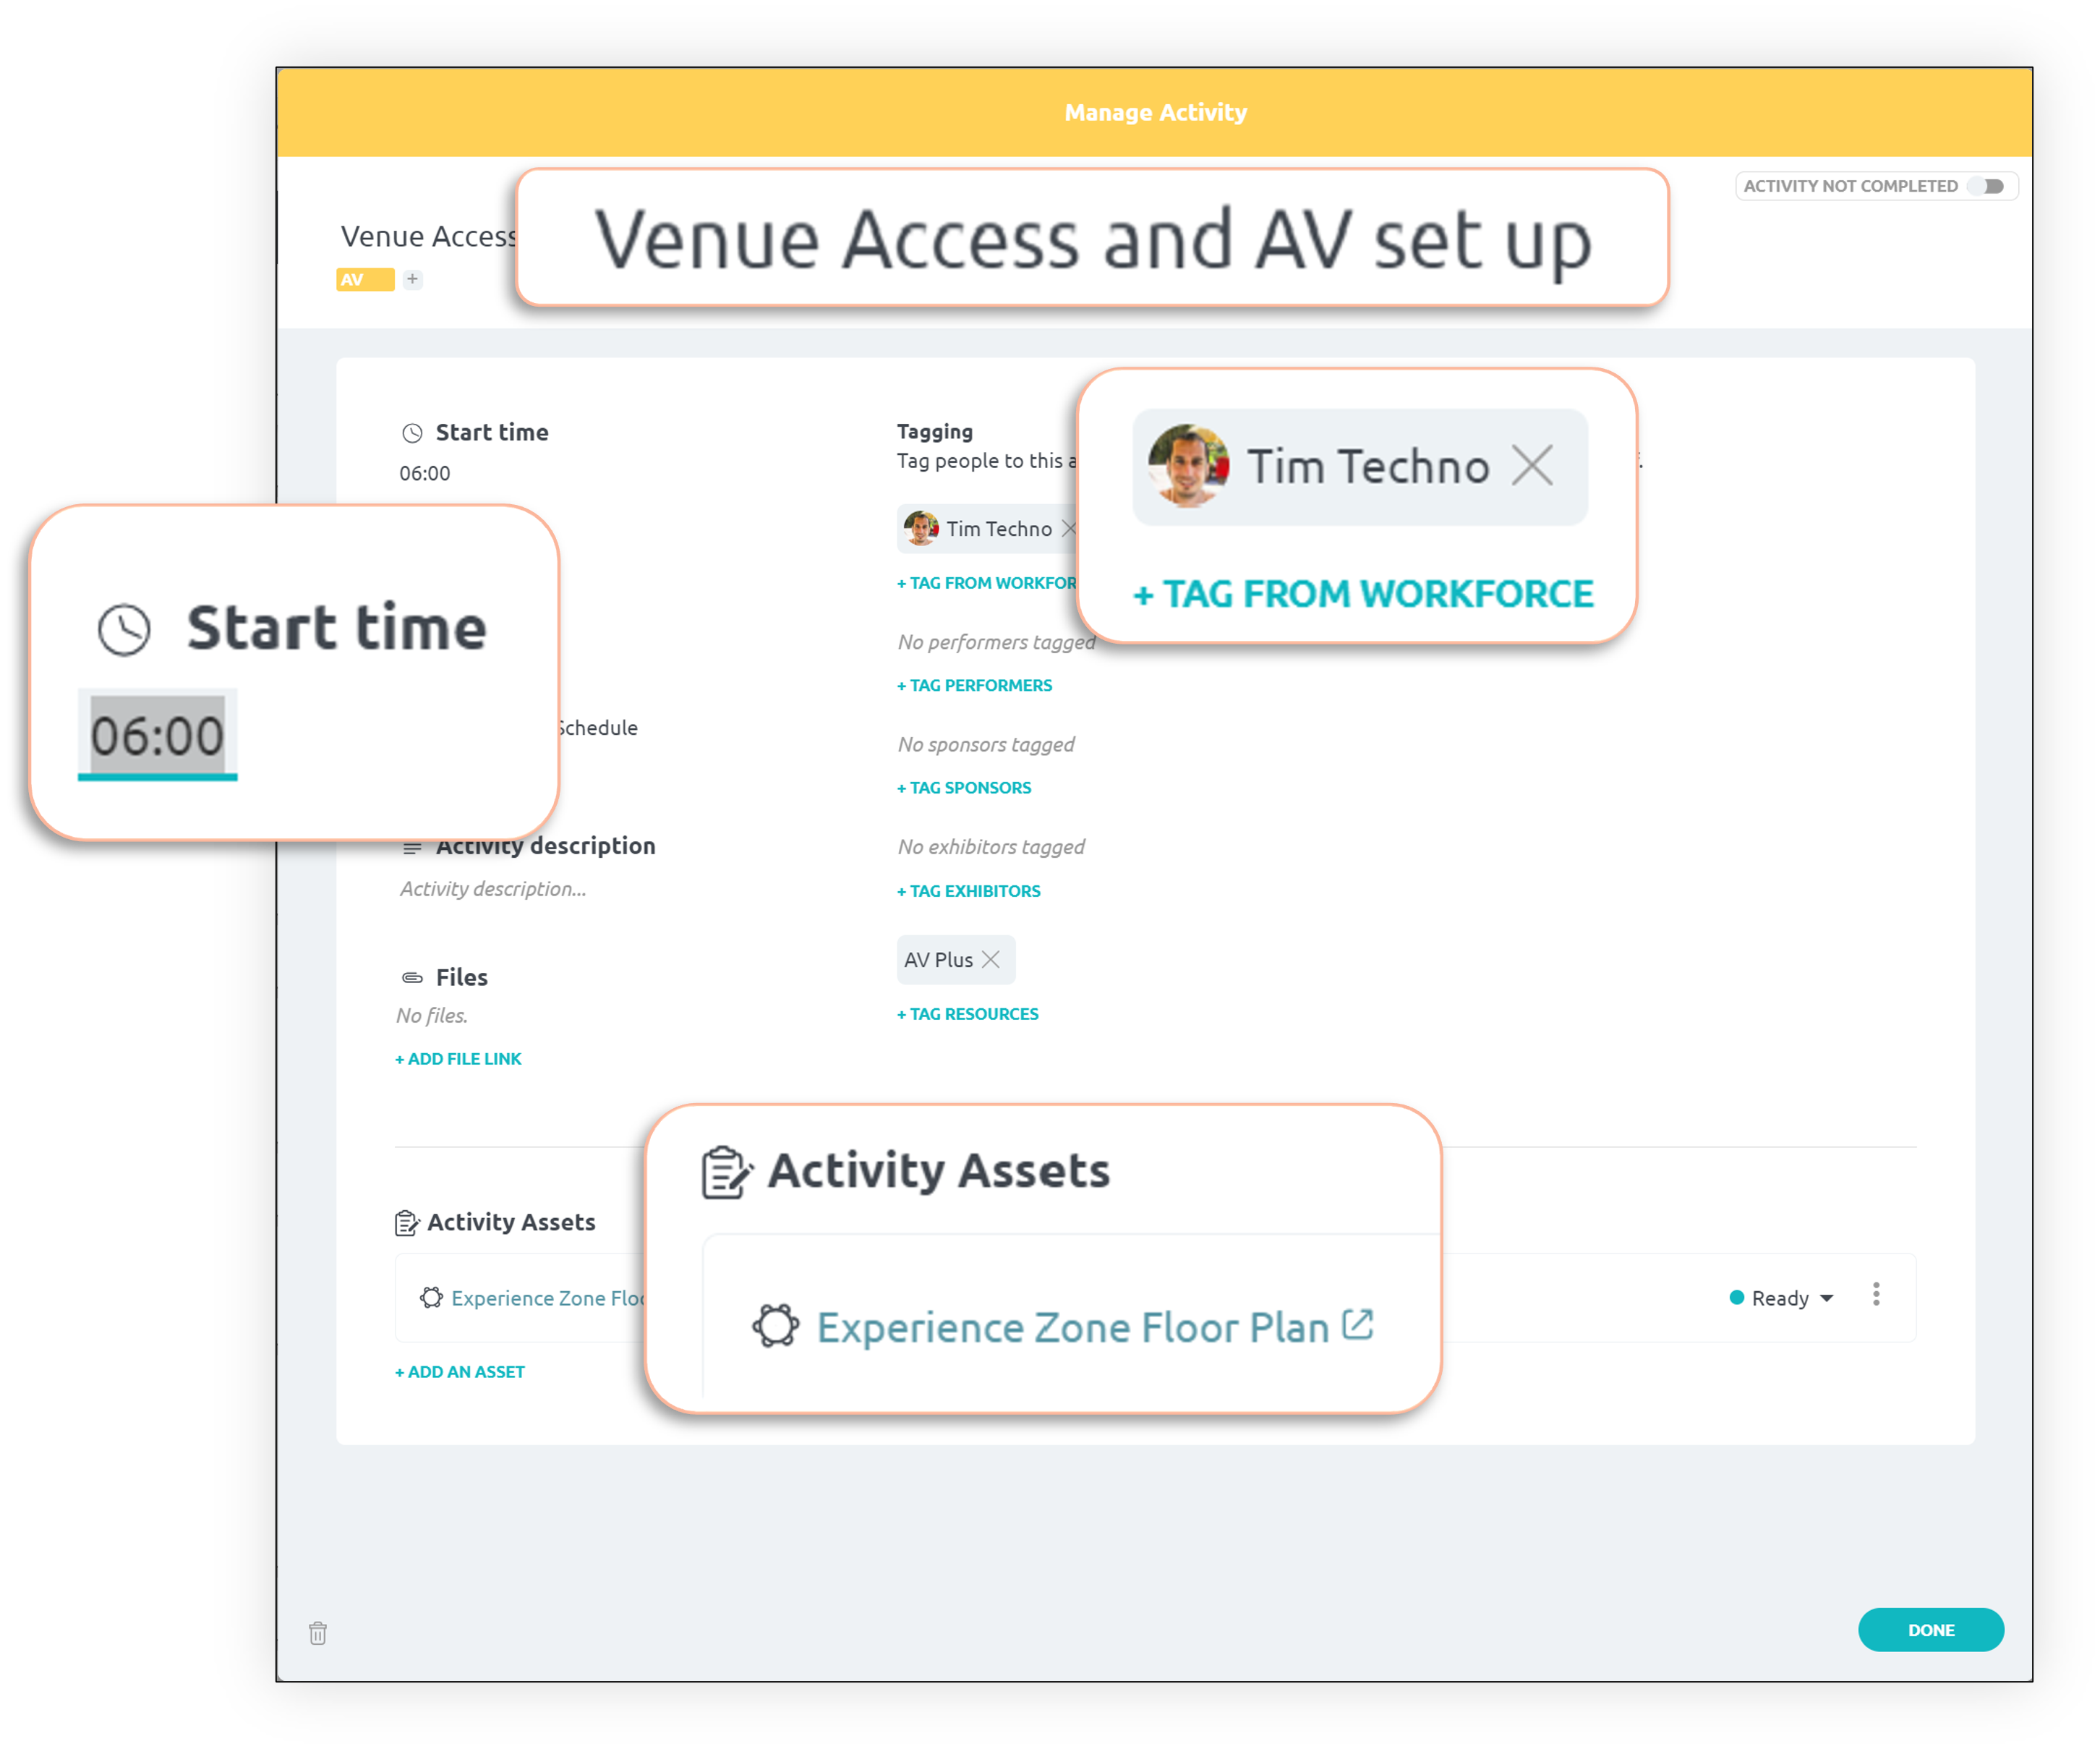
Labels, like tags, can be used to organise your schedules
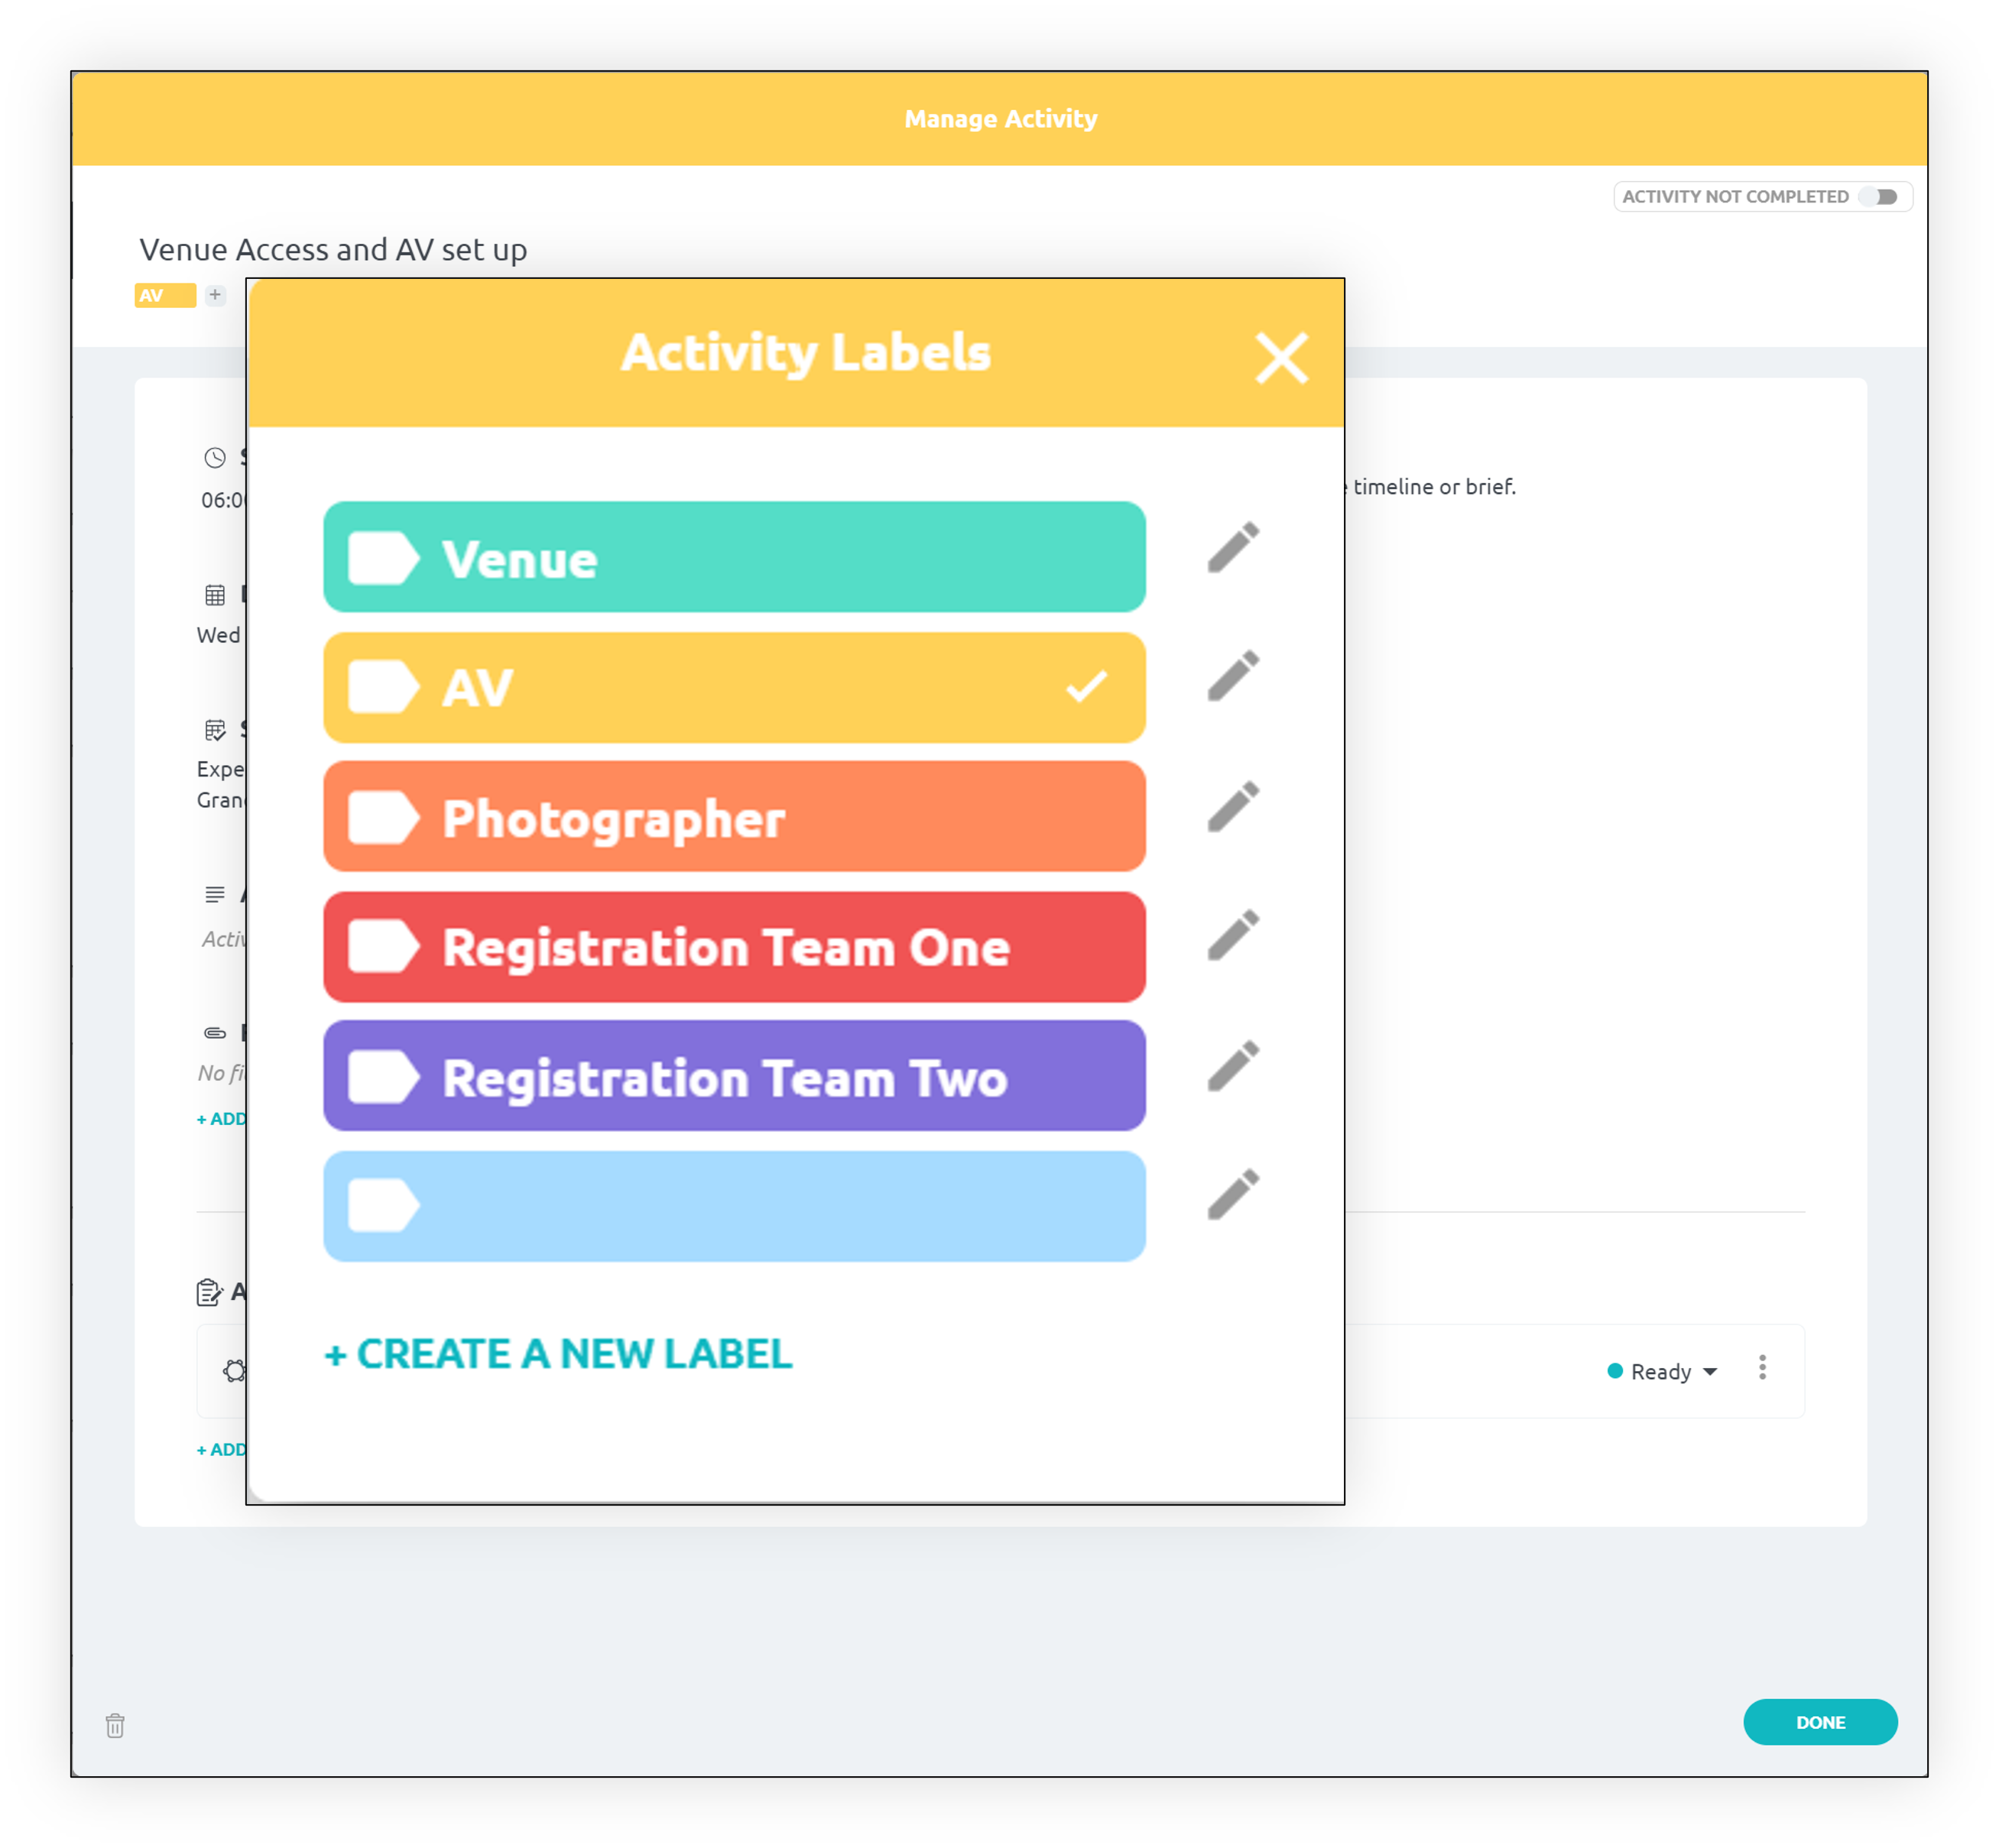
Collaborate with your team and vendors to work out exactly what needs to be done and when
It's the detail in the planning stage that will make your event a success
There are three main ways to use your on site schedules
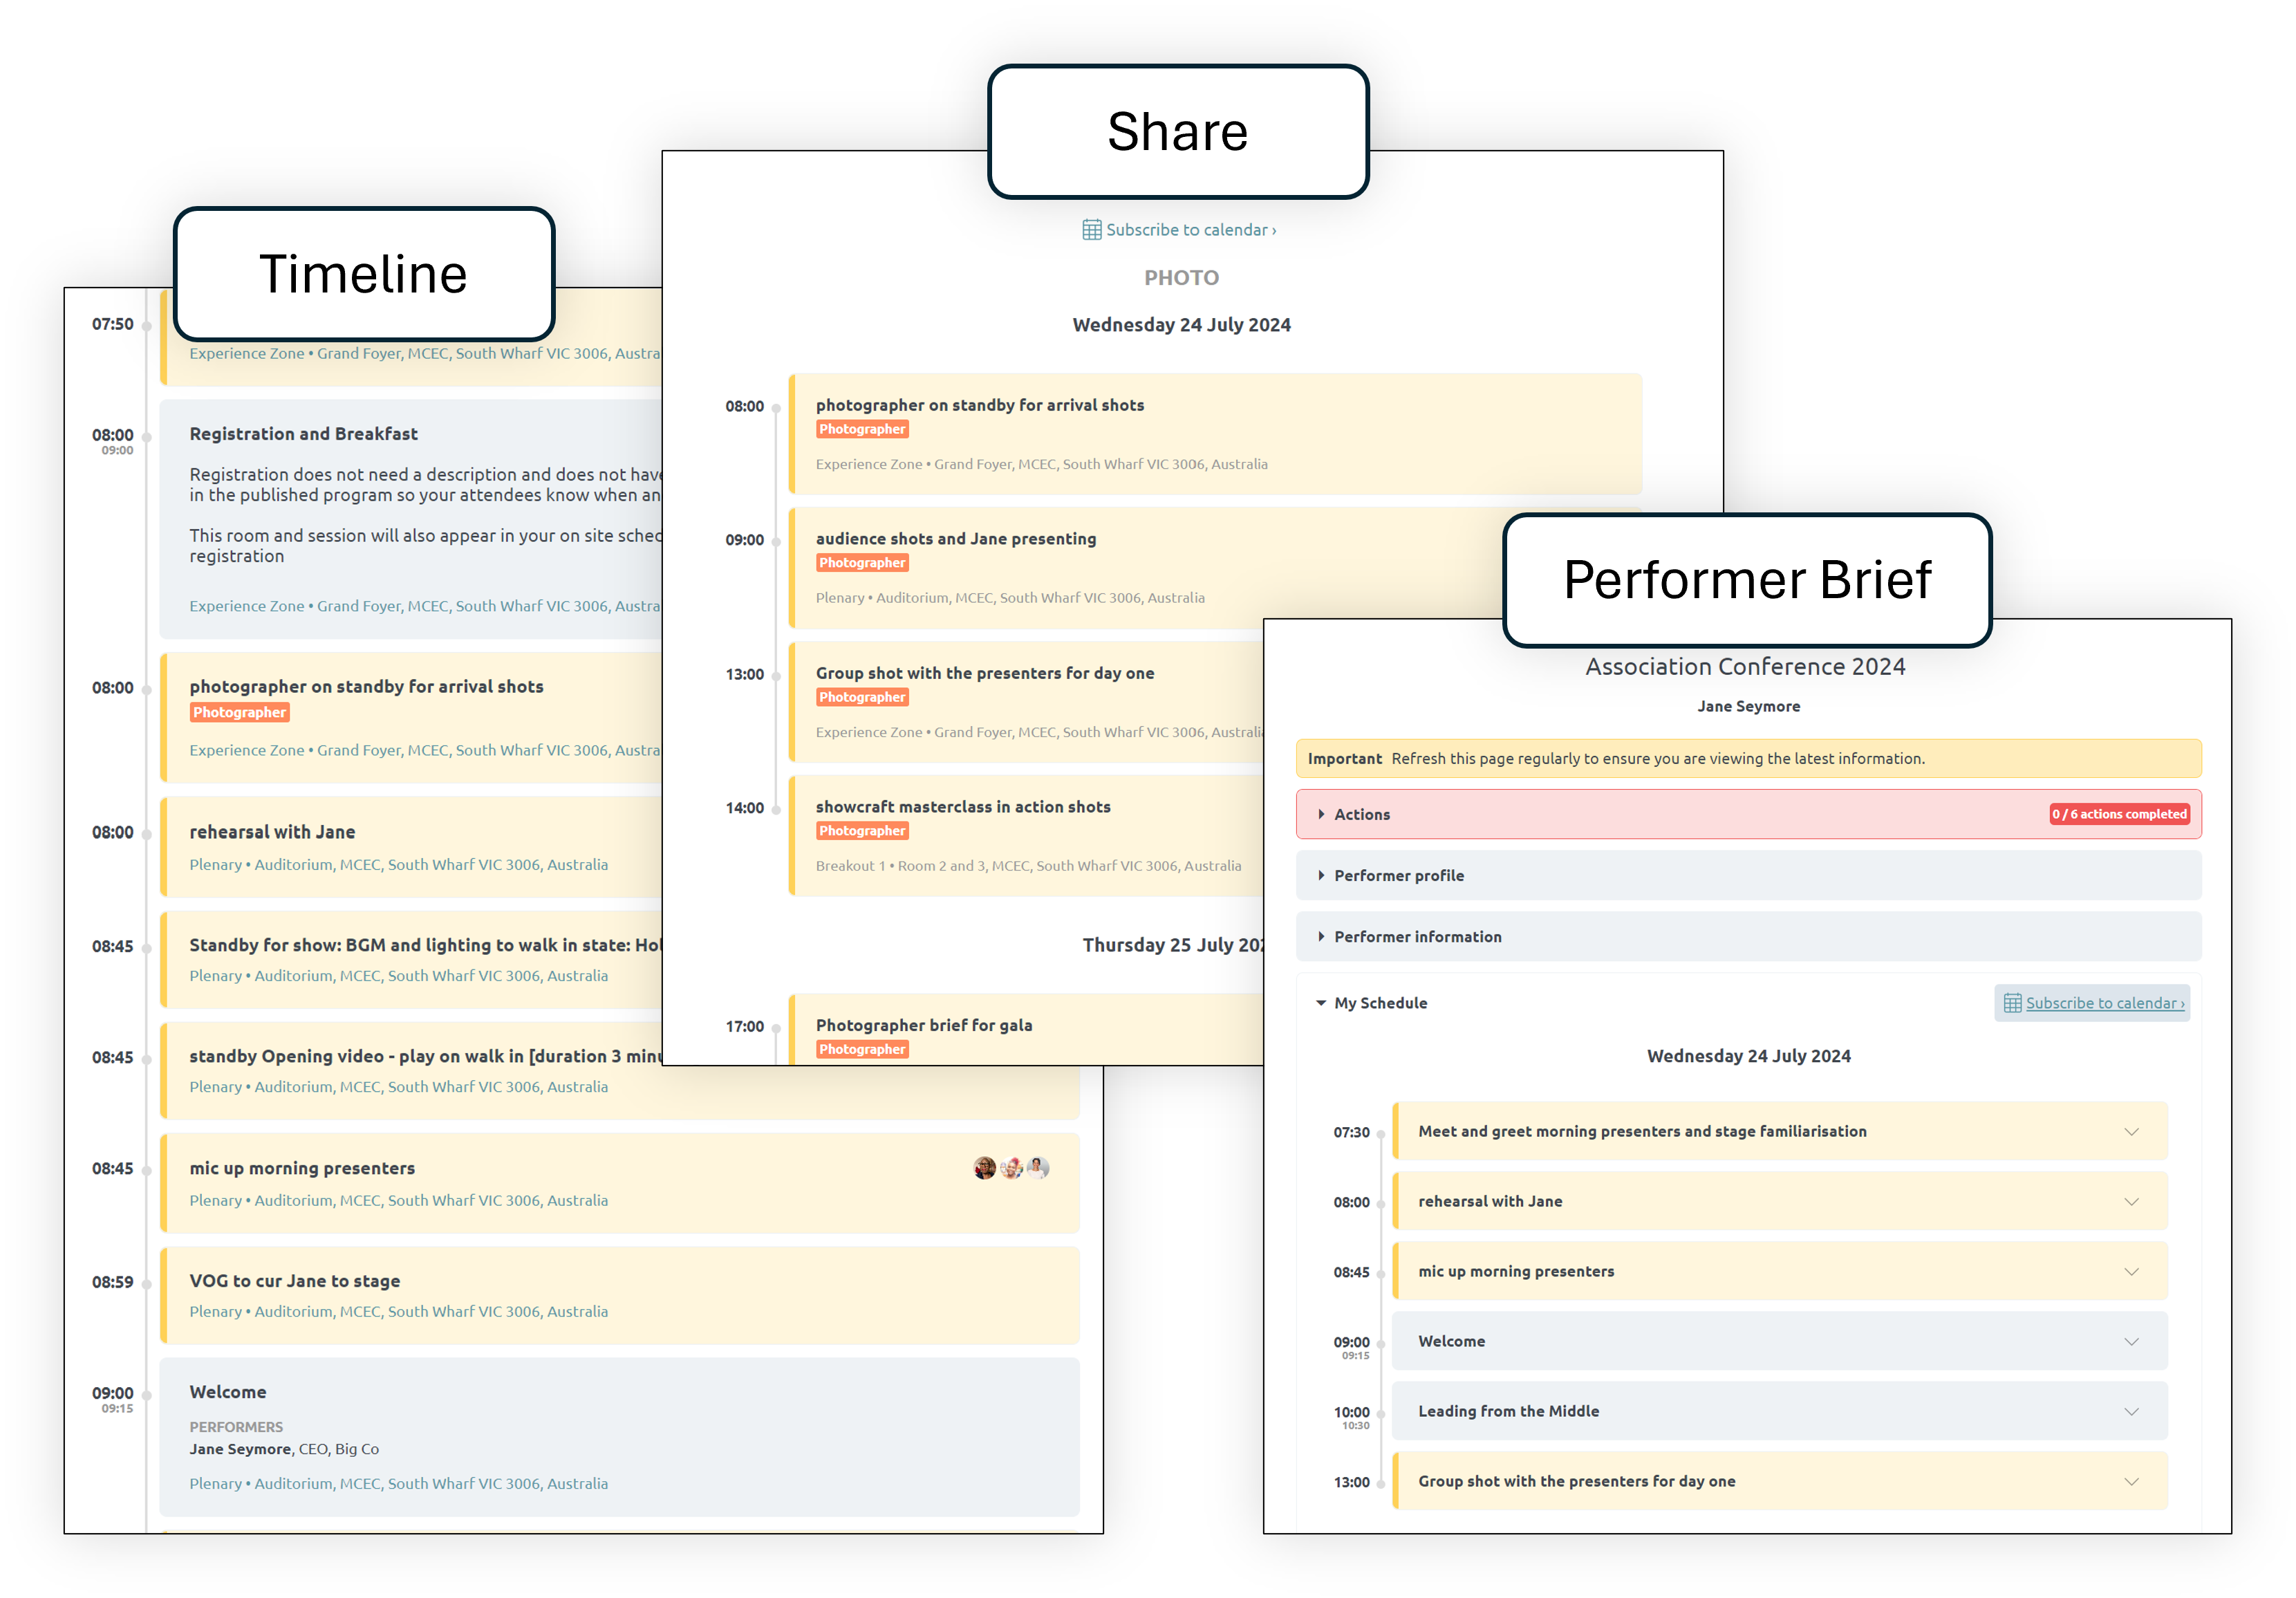
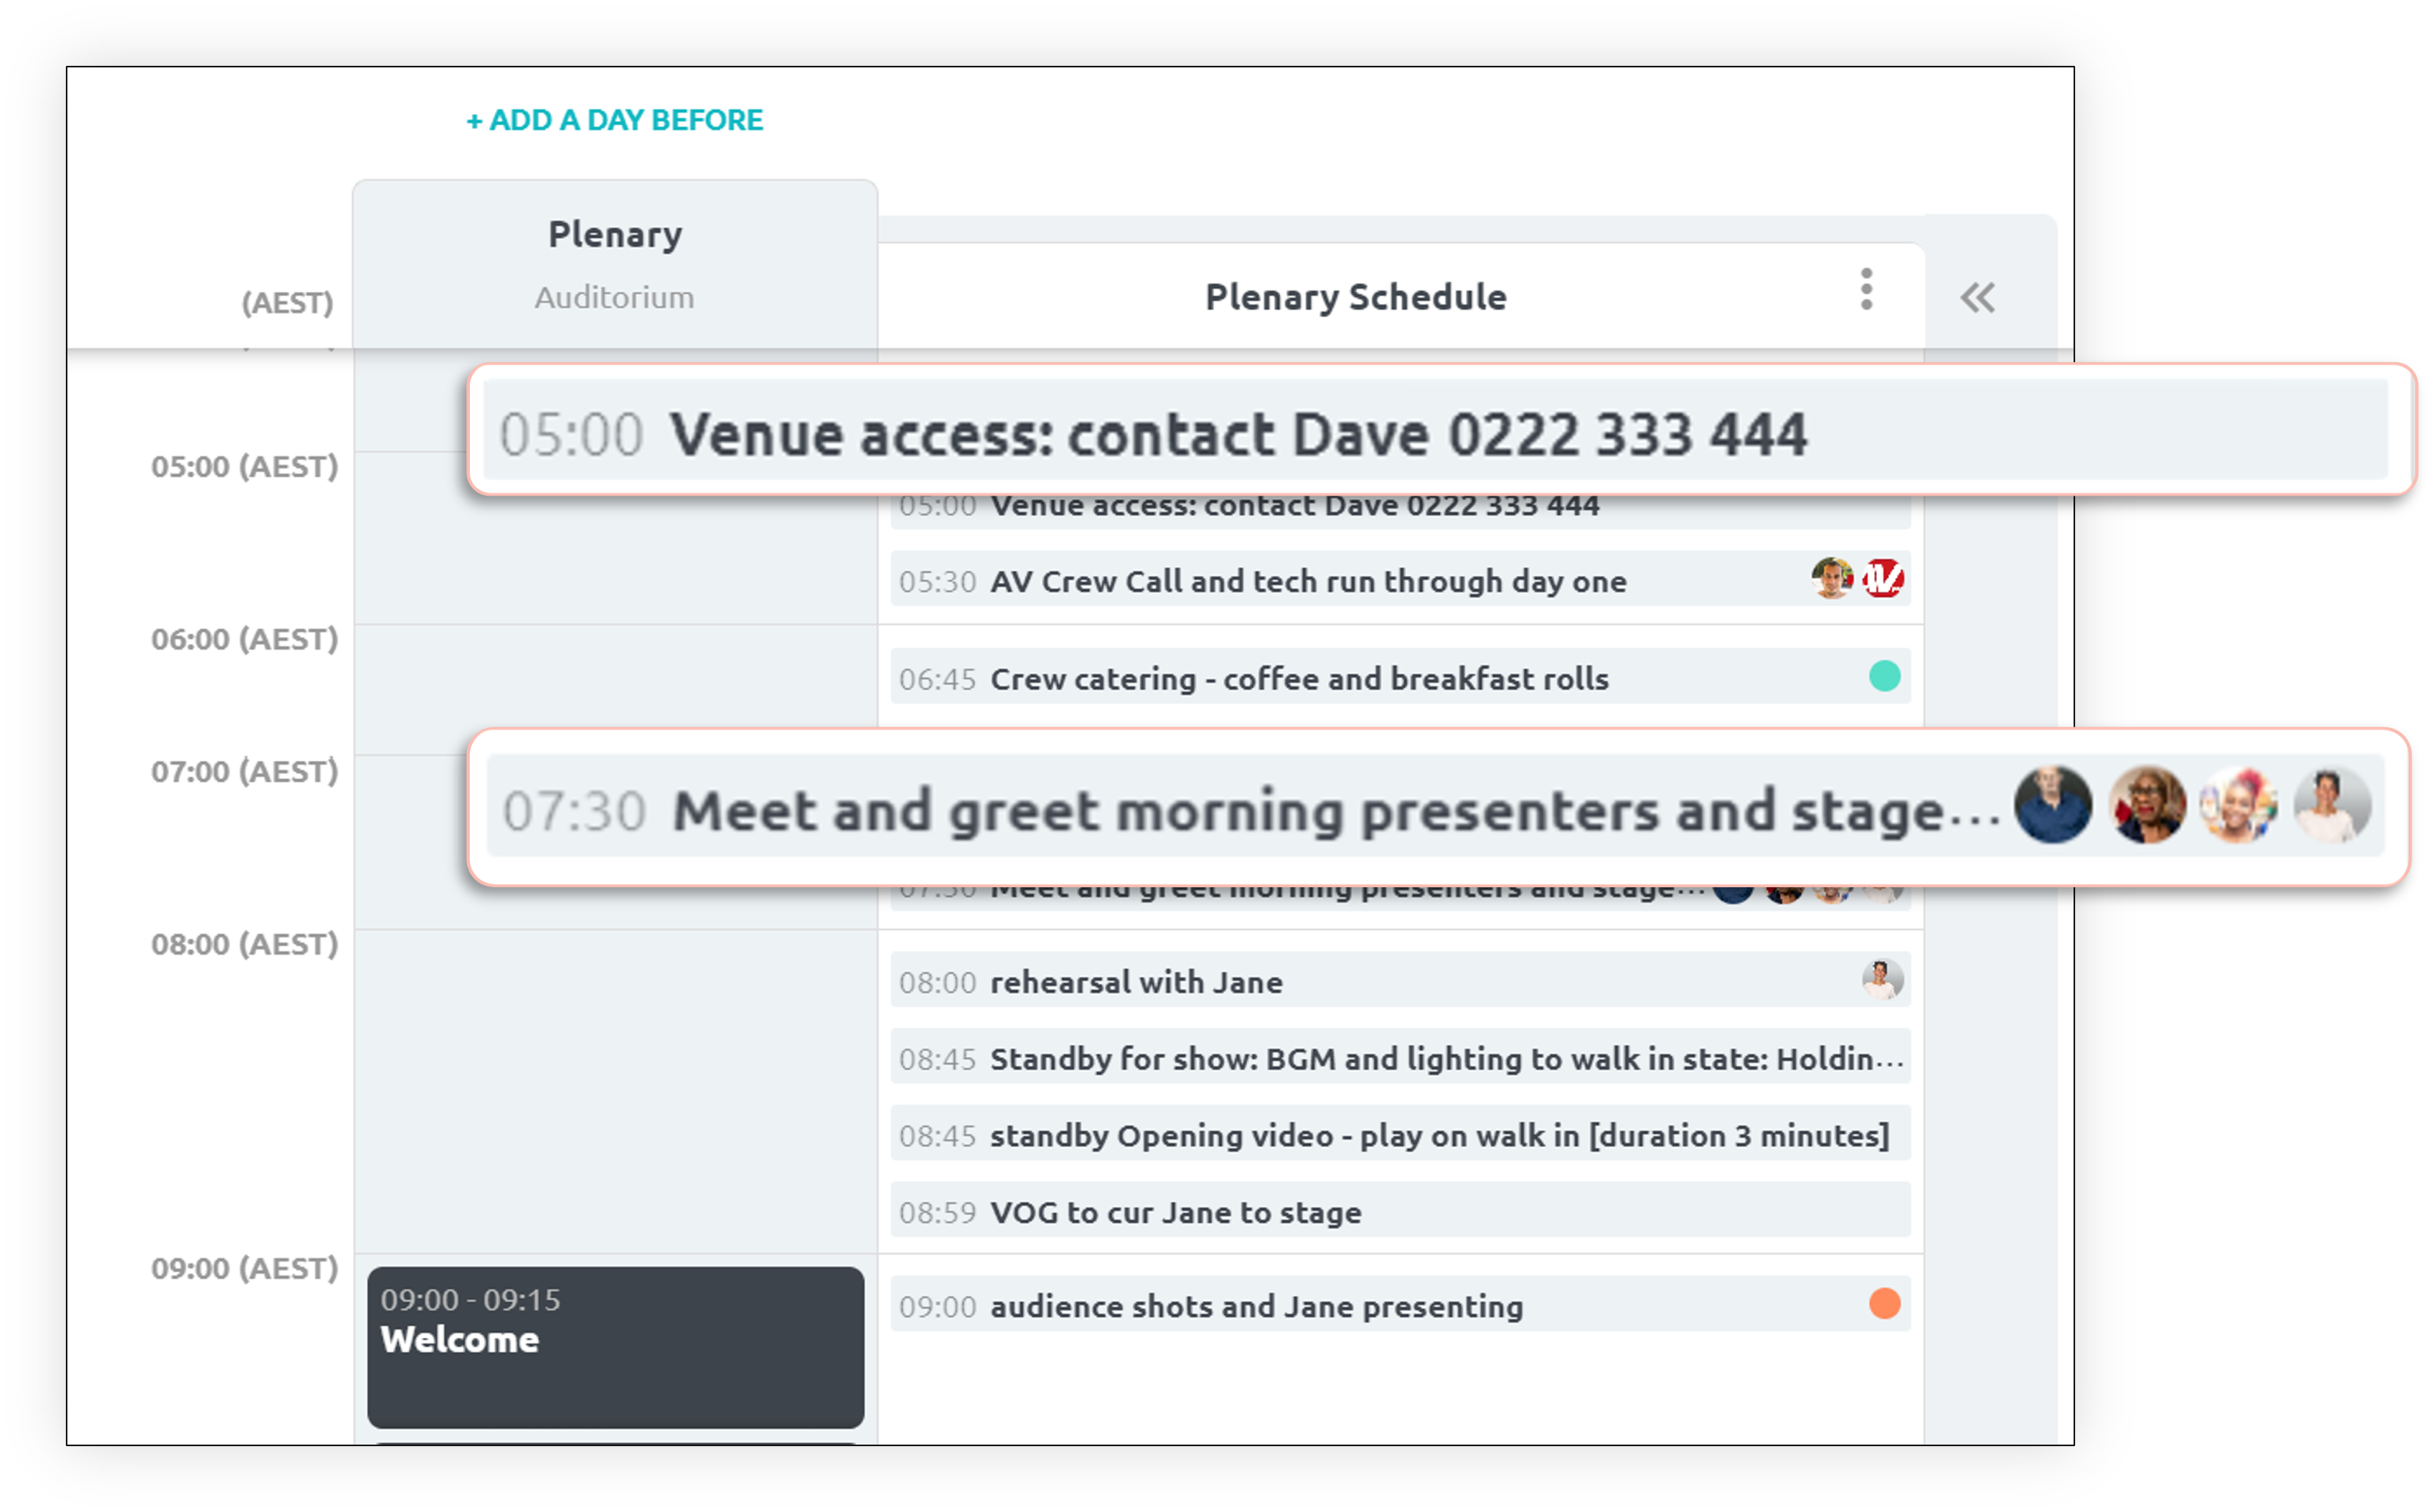
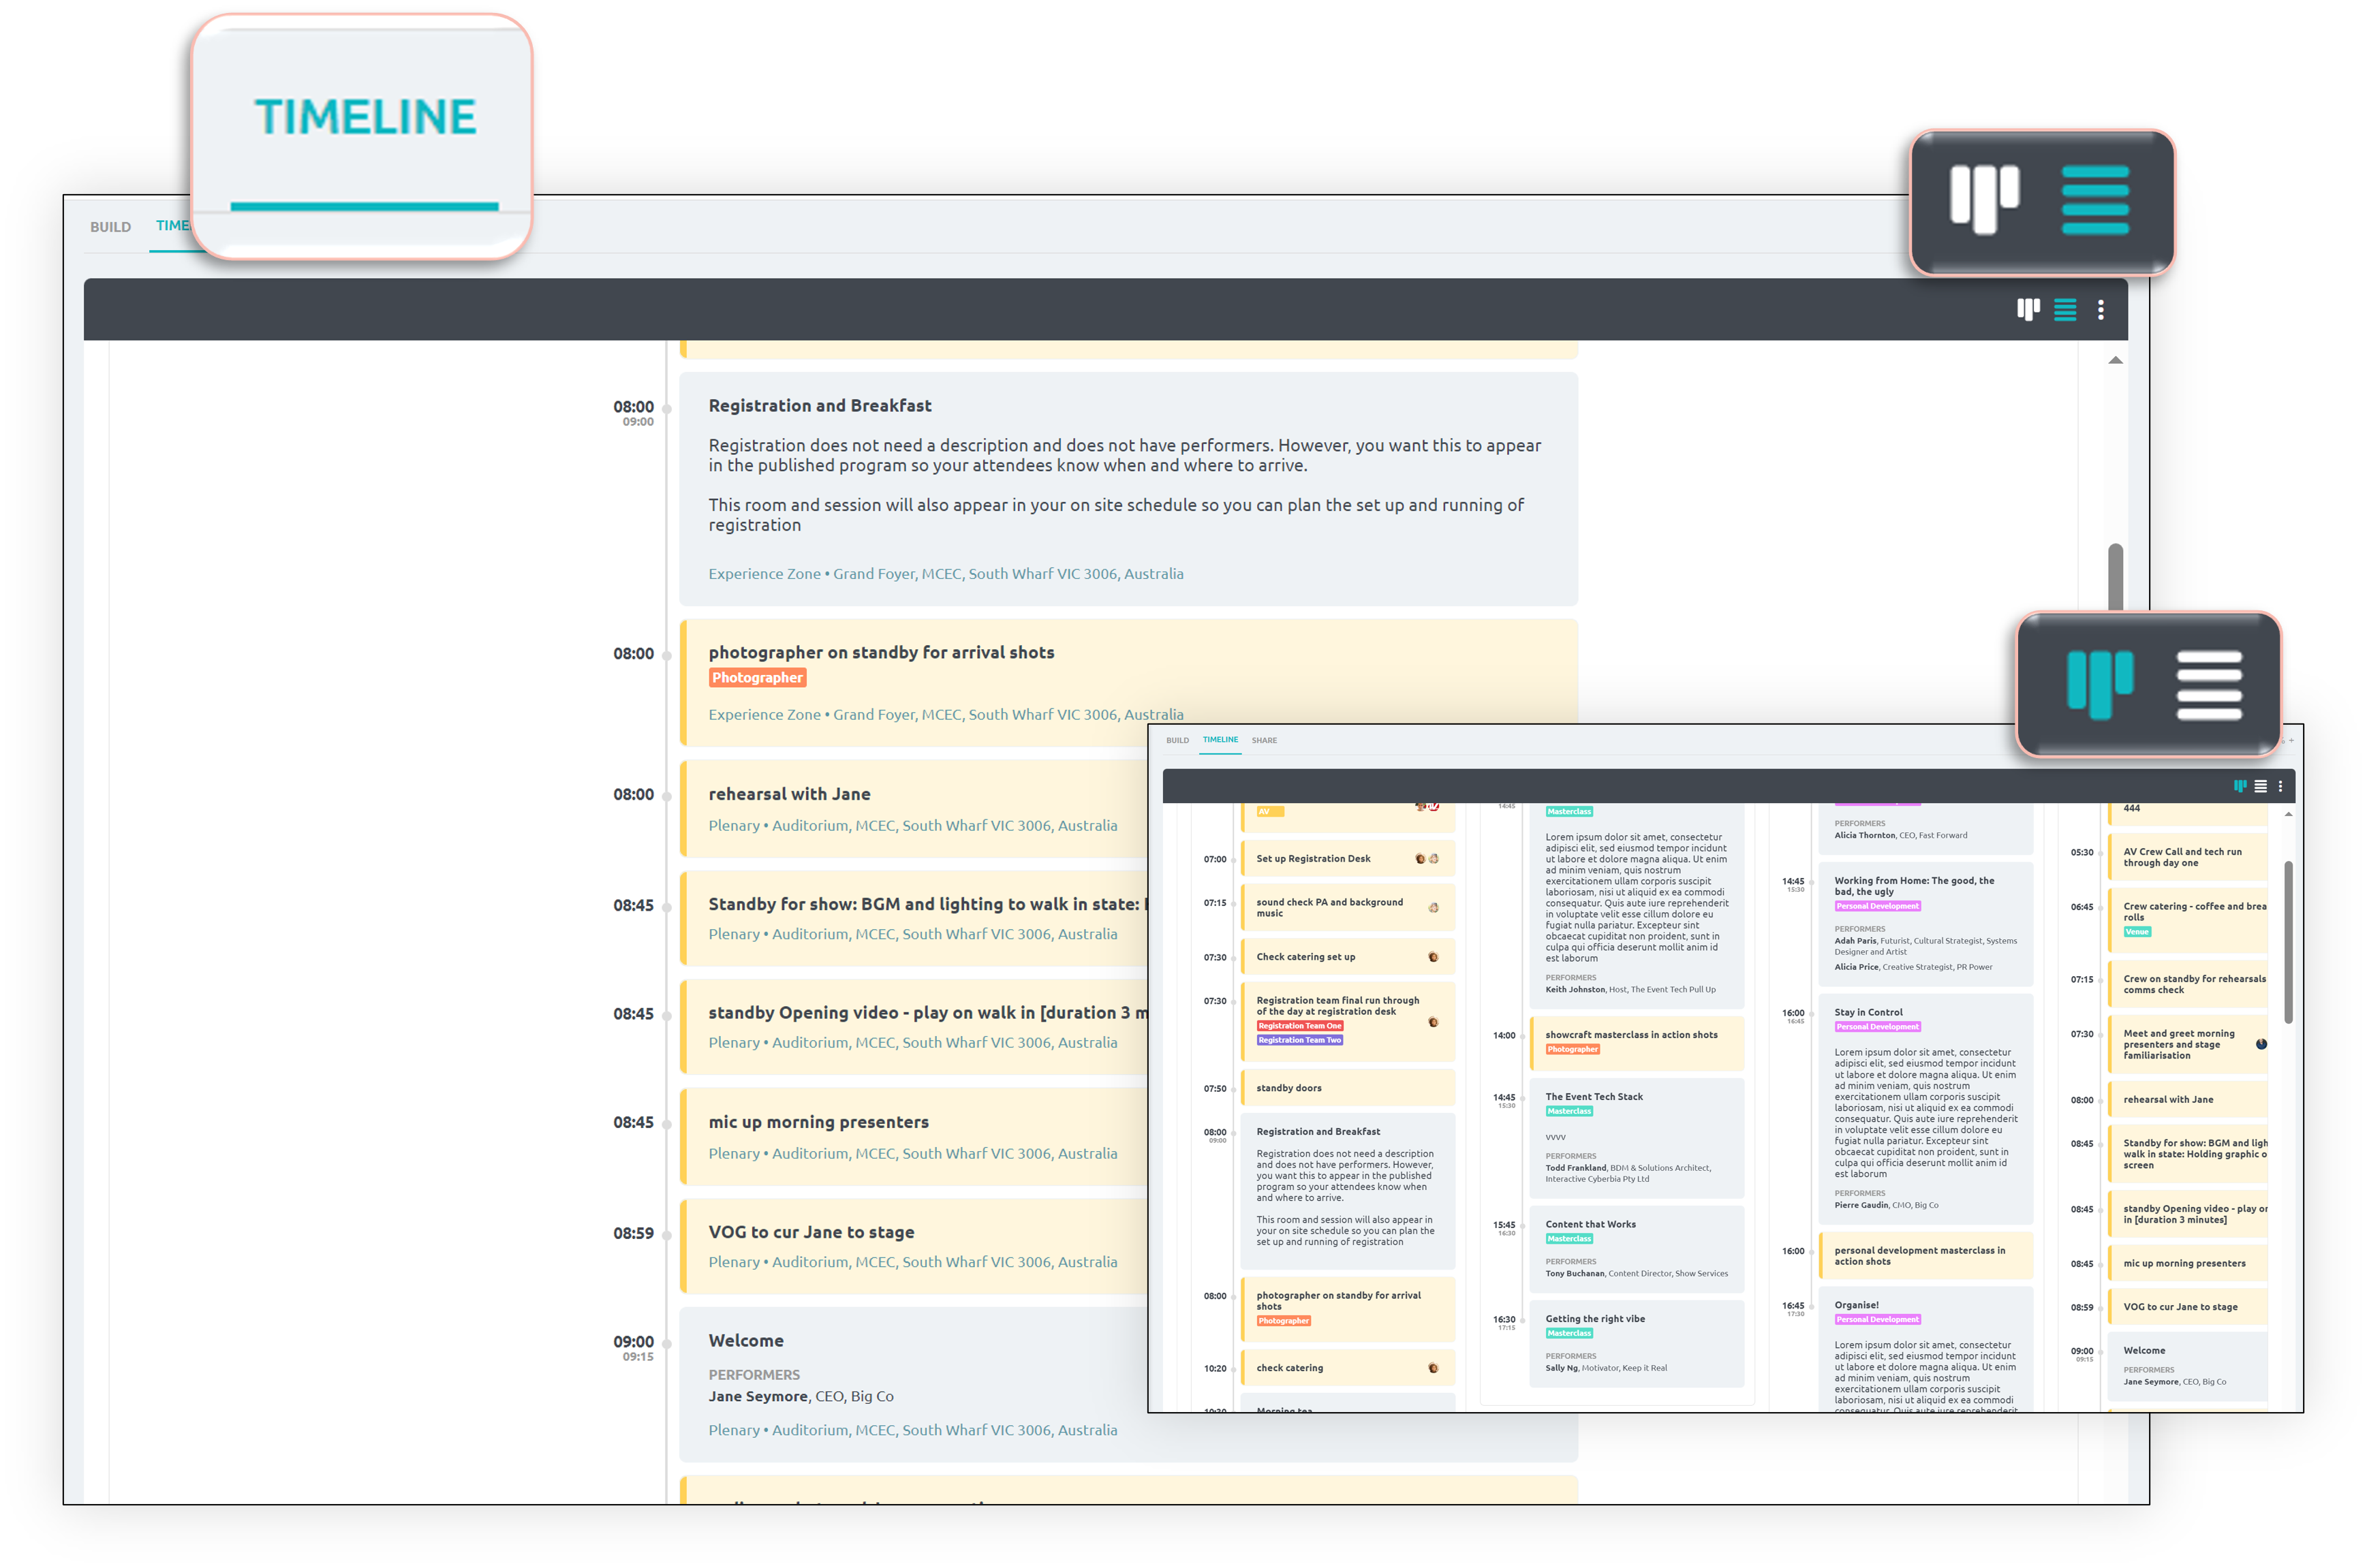
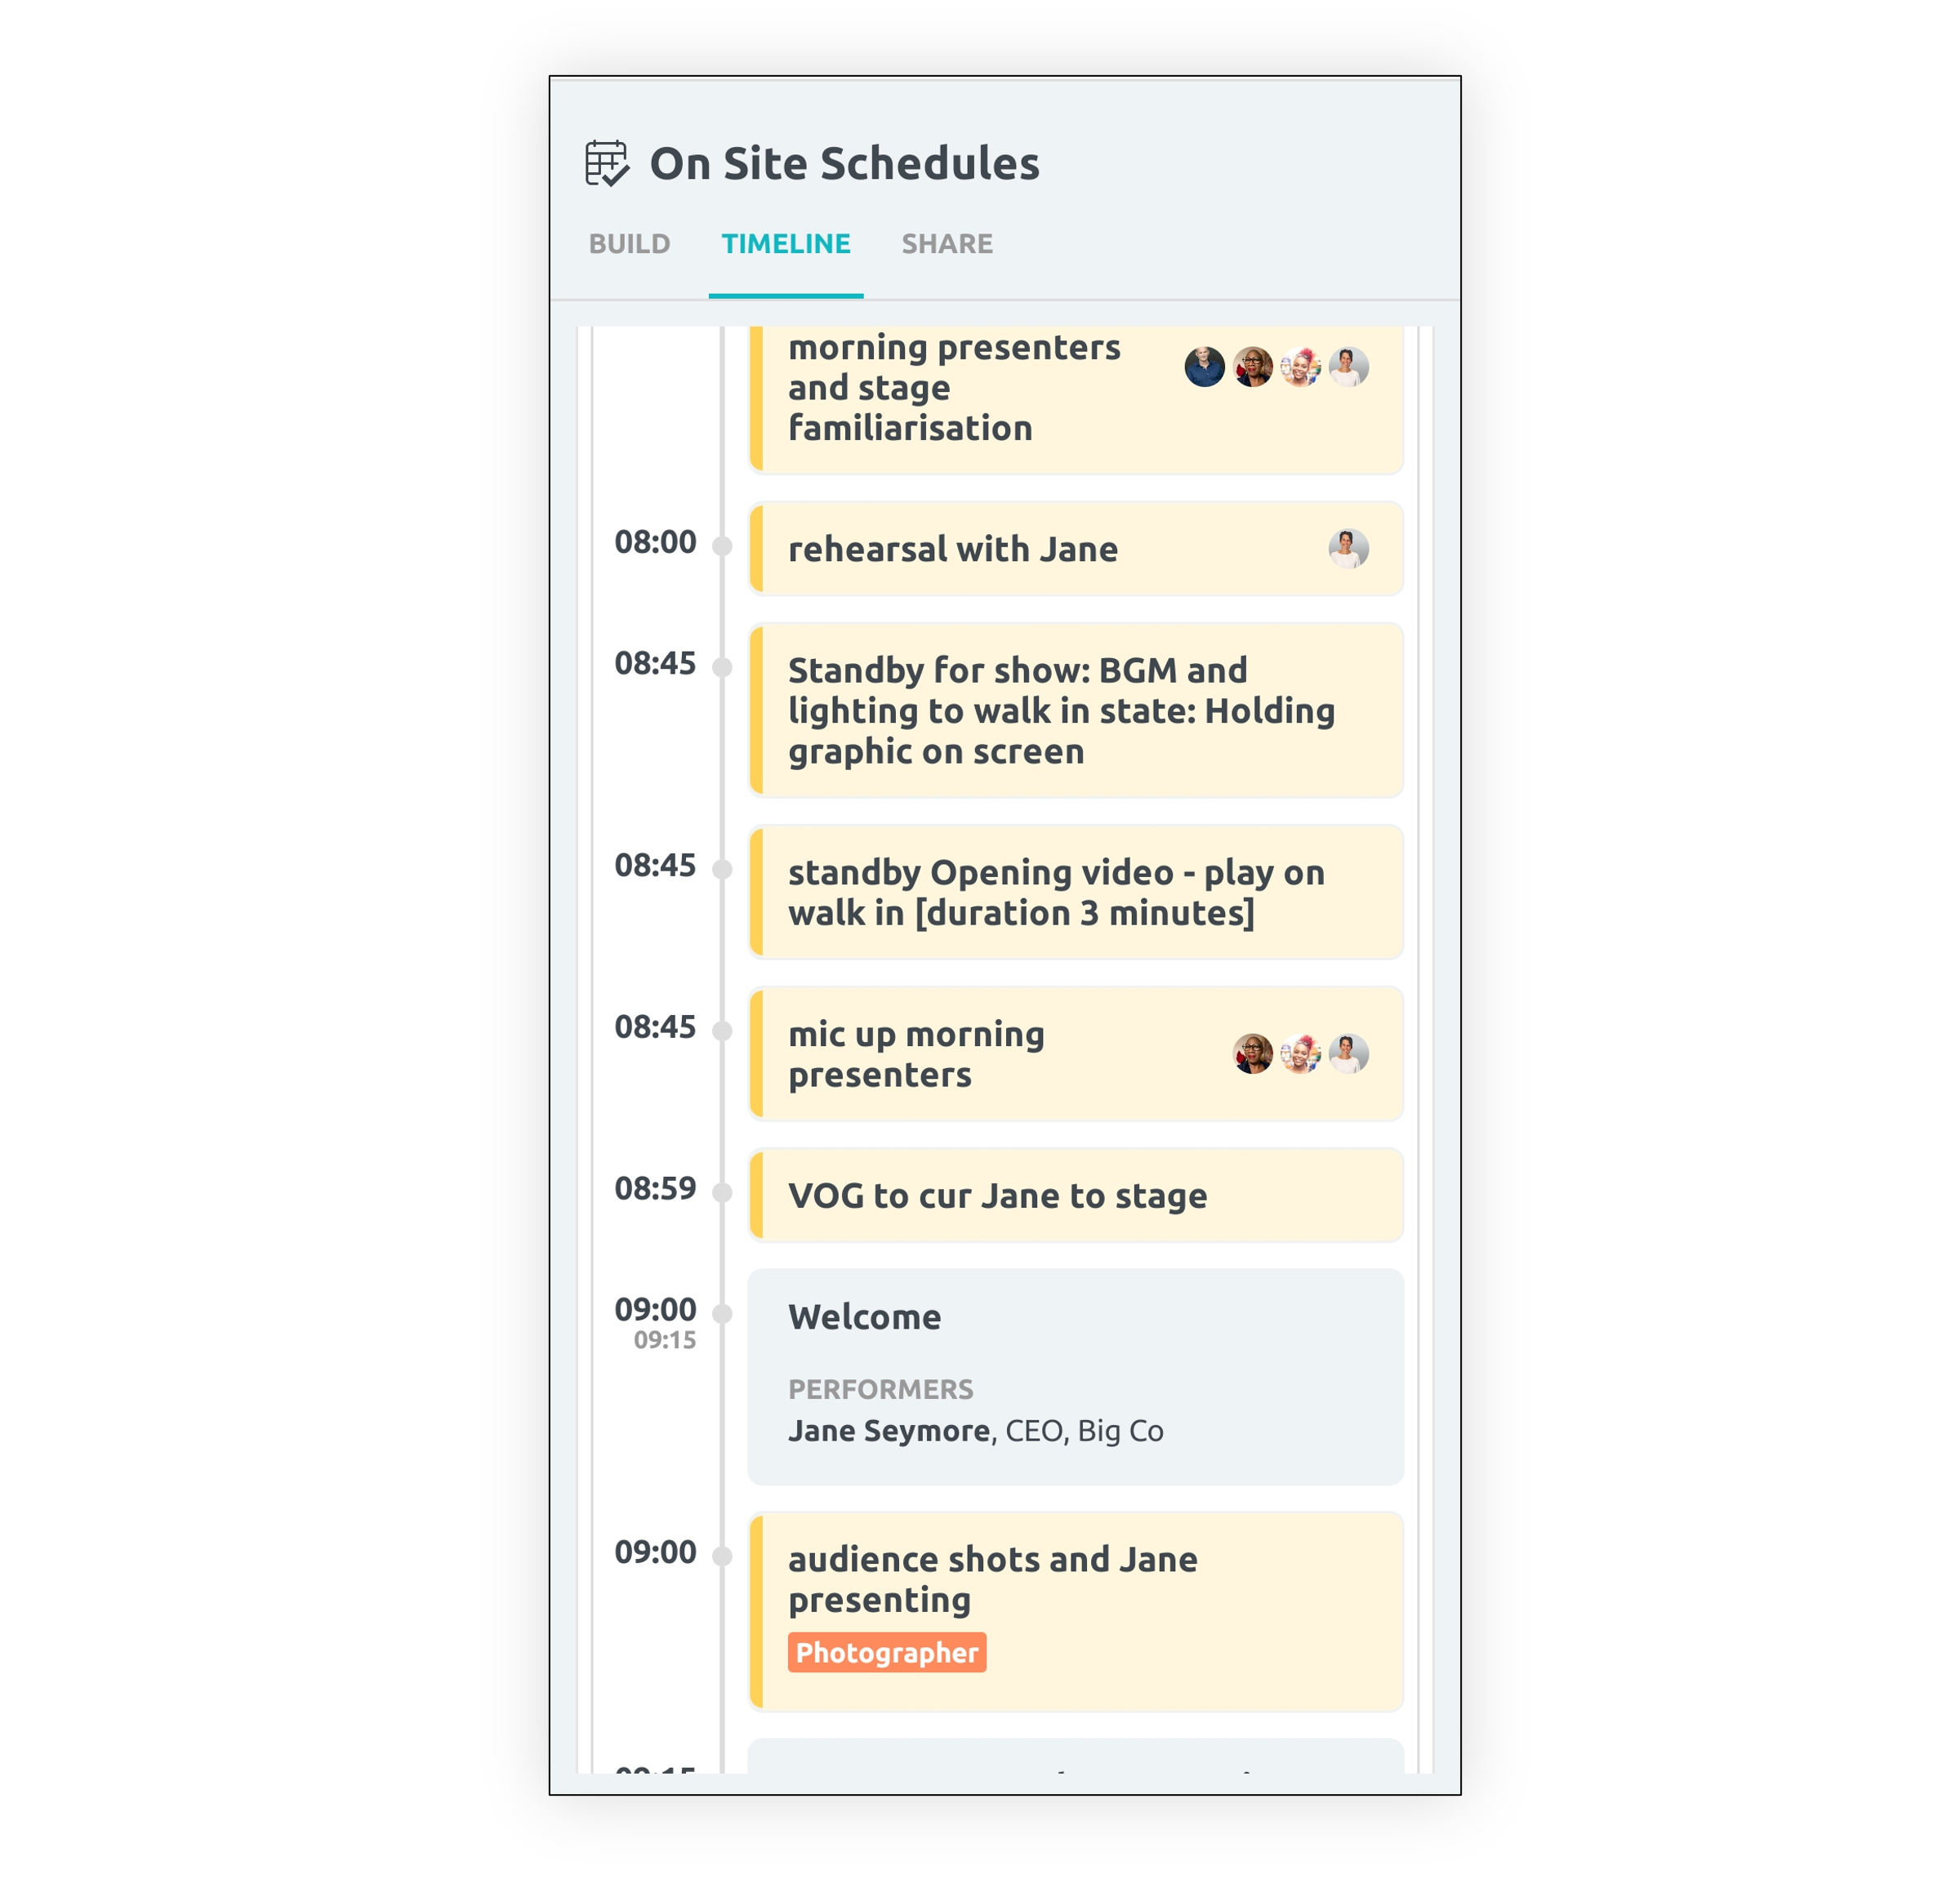
The timeline view is a list of all activities and sessions in sequential order
You can view as one continual timeline or by room/location
On your mobile, sign into Joi on your web browser and select the event you are delivering
Go to timeline view and you will have all the information you need at your fingertips
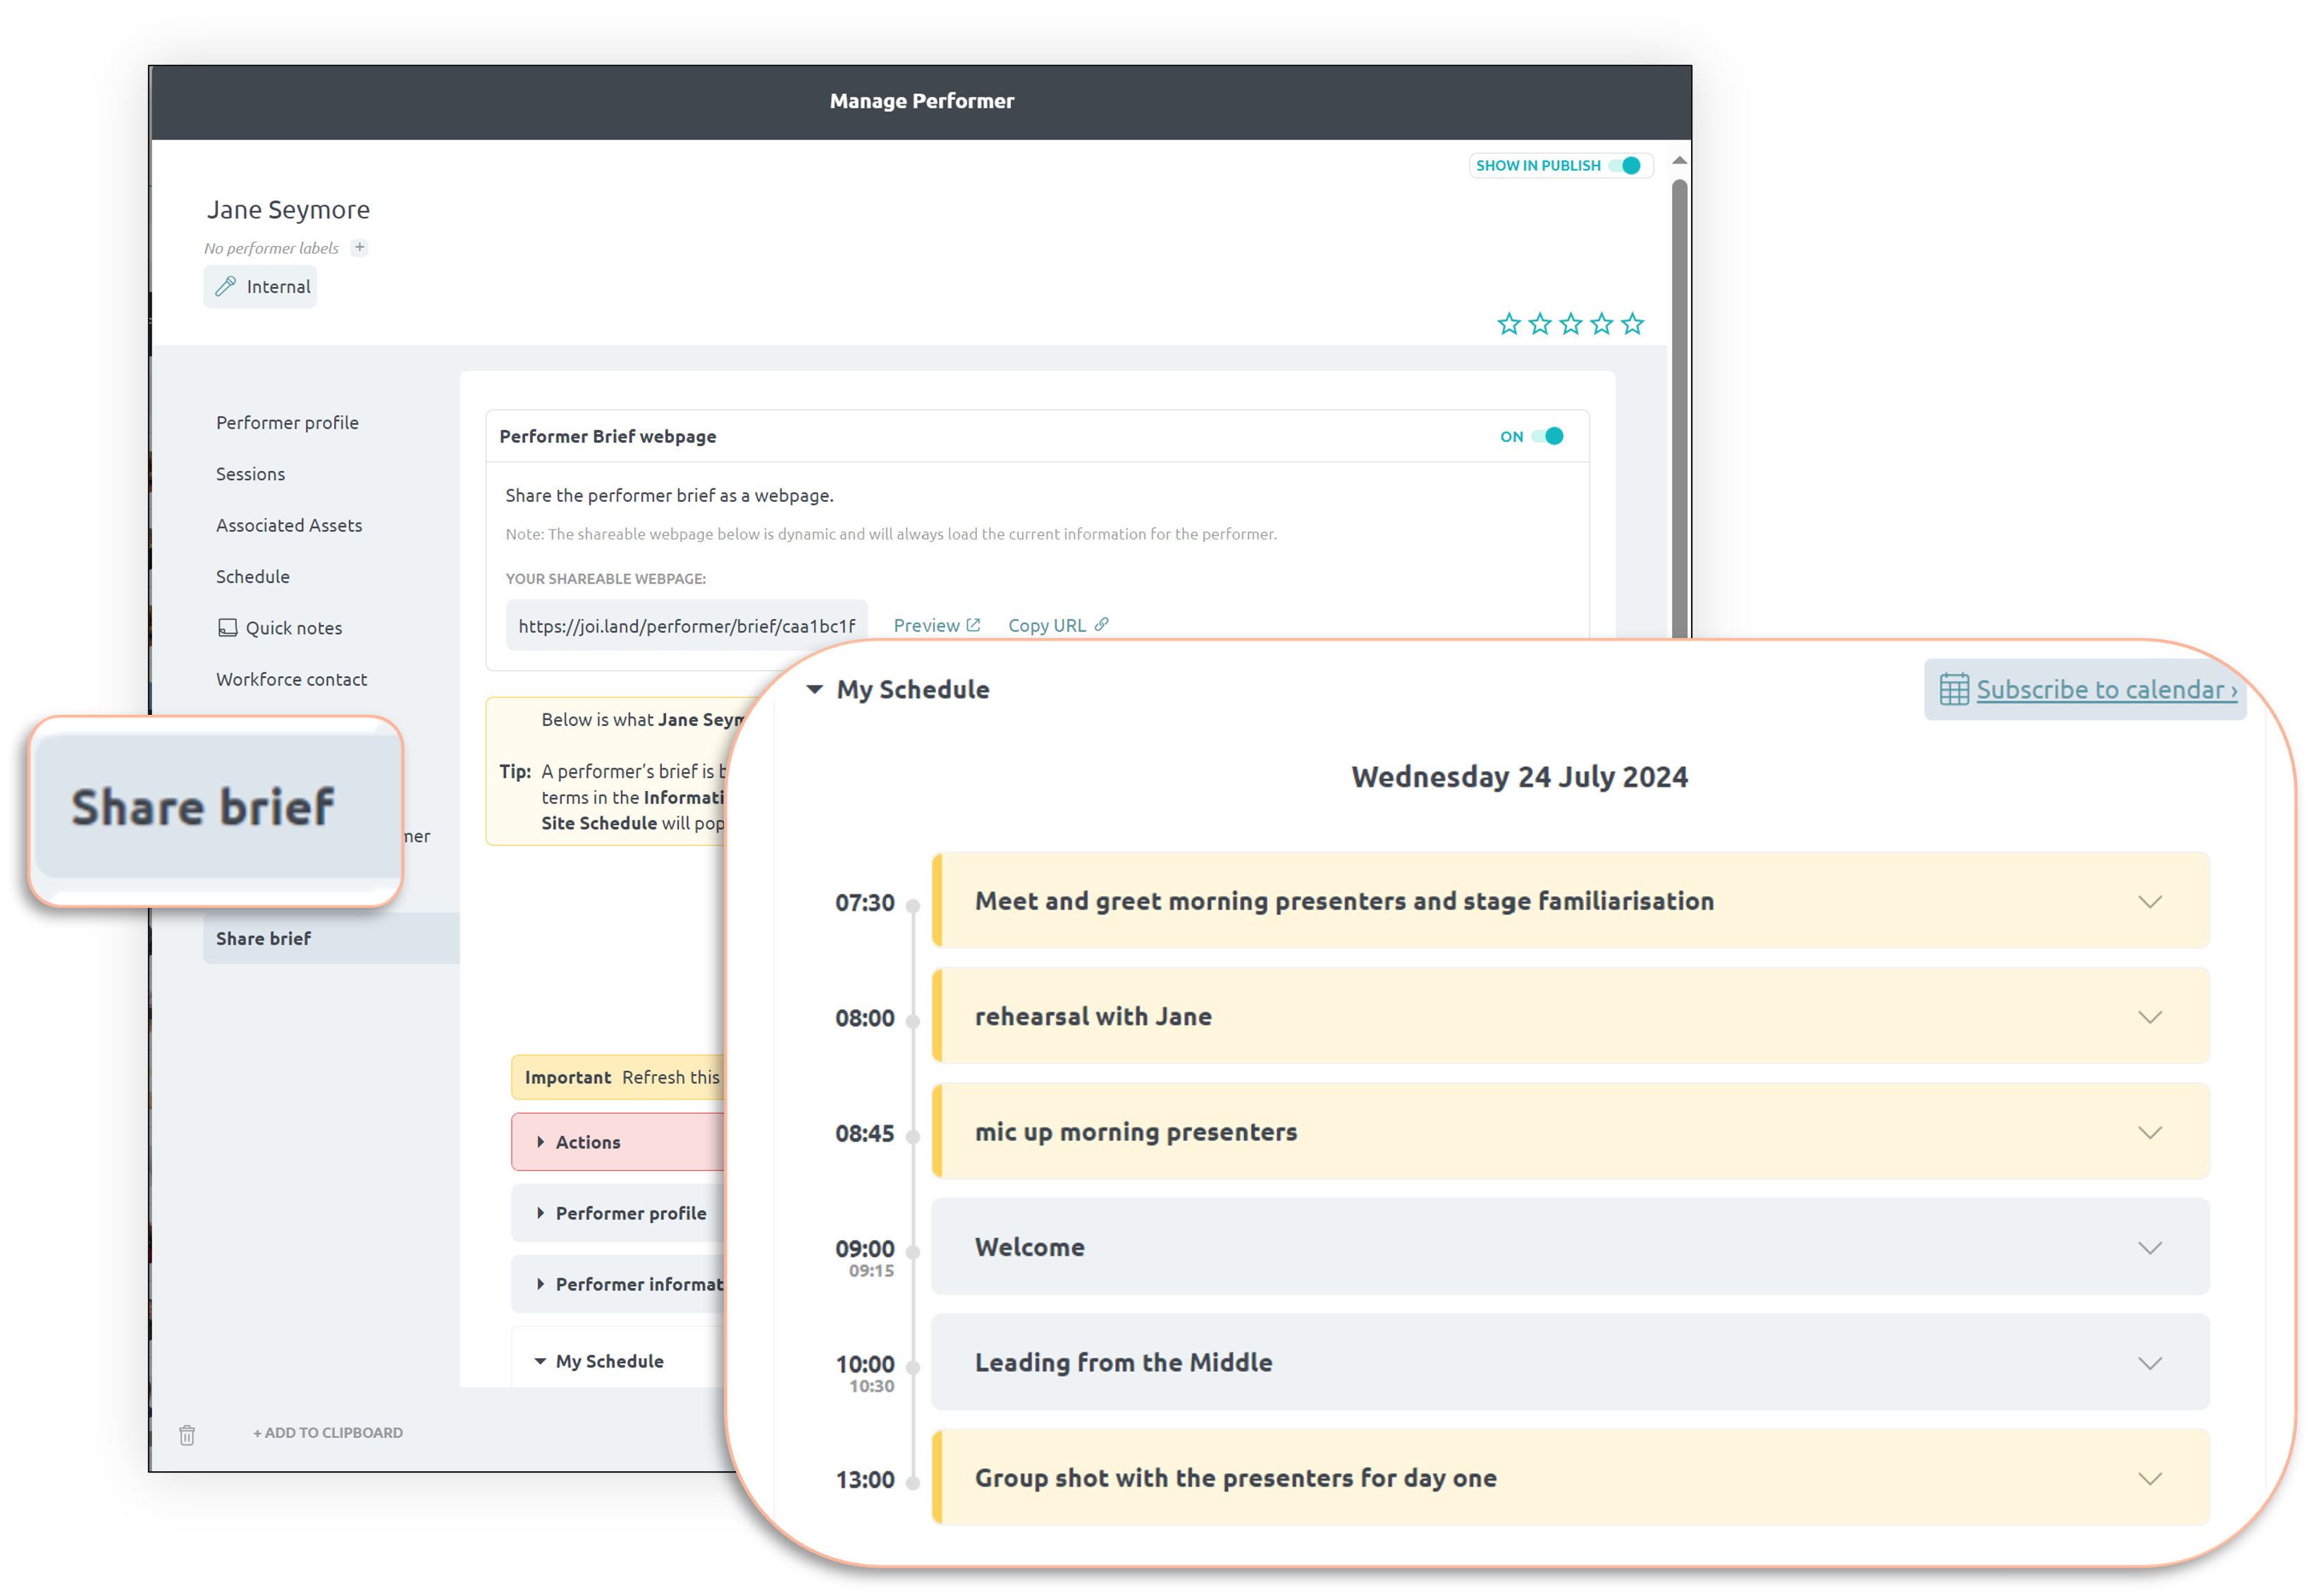
Tag performers, exhibitors and resource to activities and create their personalised schedule
This schedule will automatically appear in their brief
Note: They can also add this schedule to their own calendars
You can create and share as many schedules as needed
Personalise scdules by using the filter
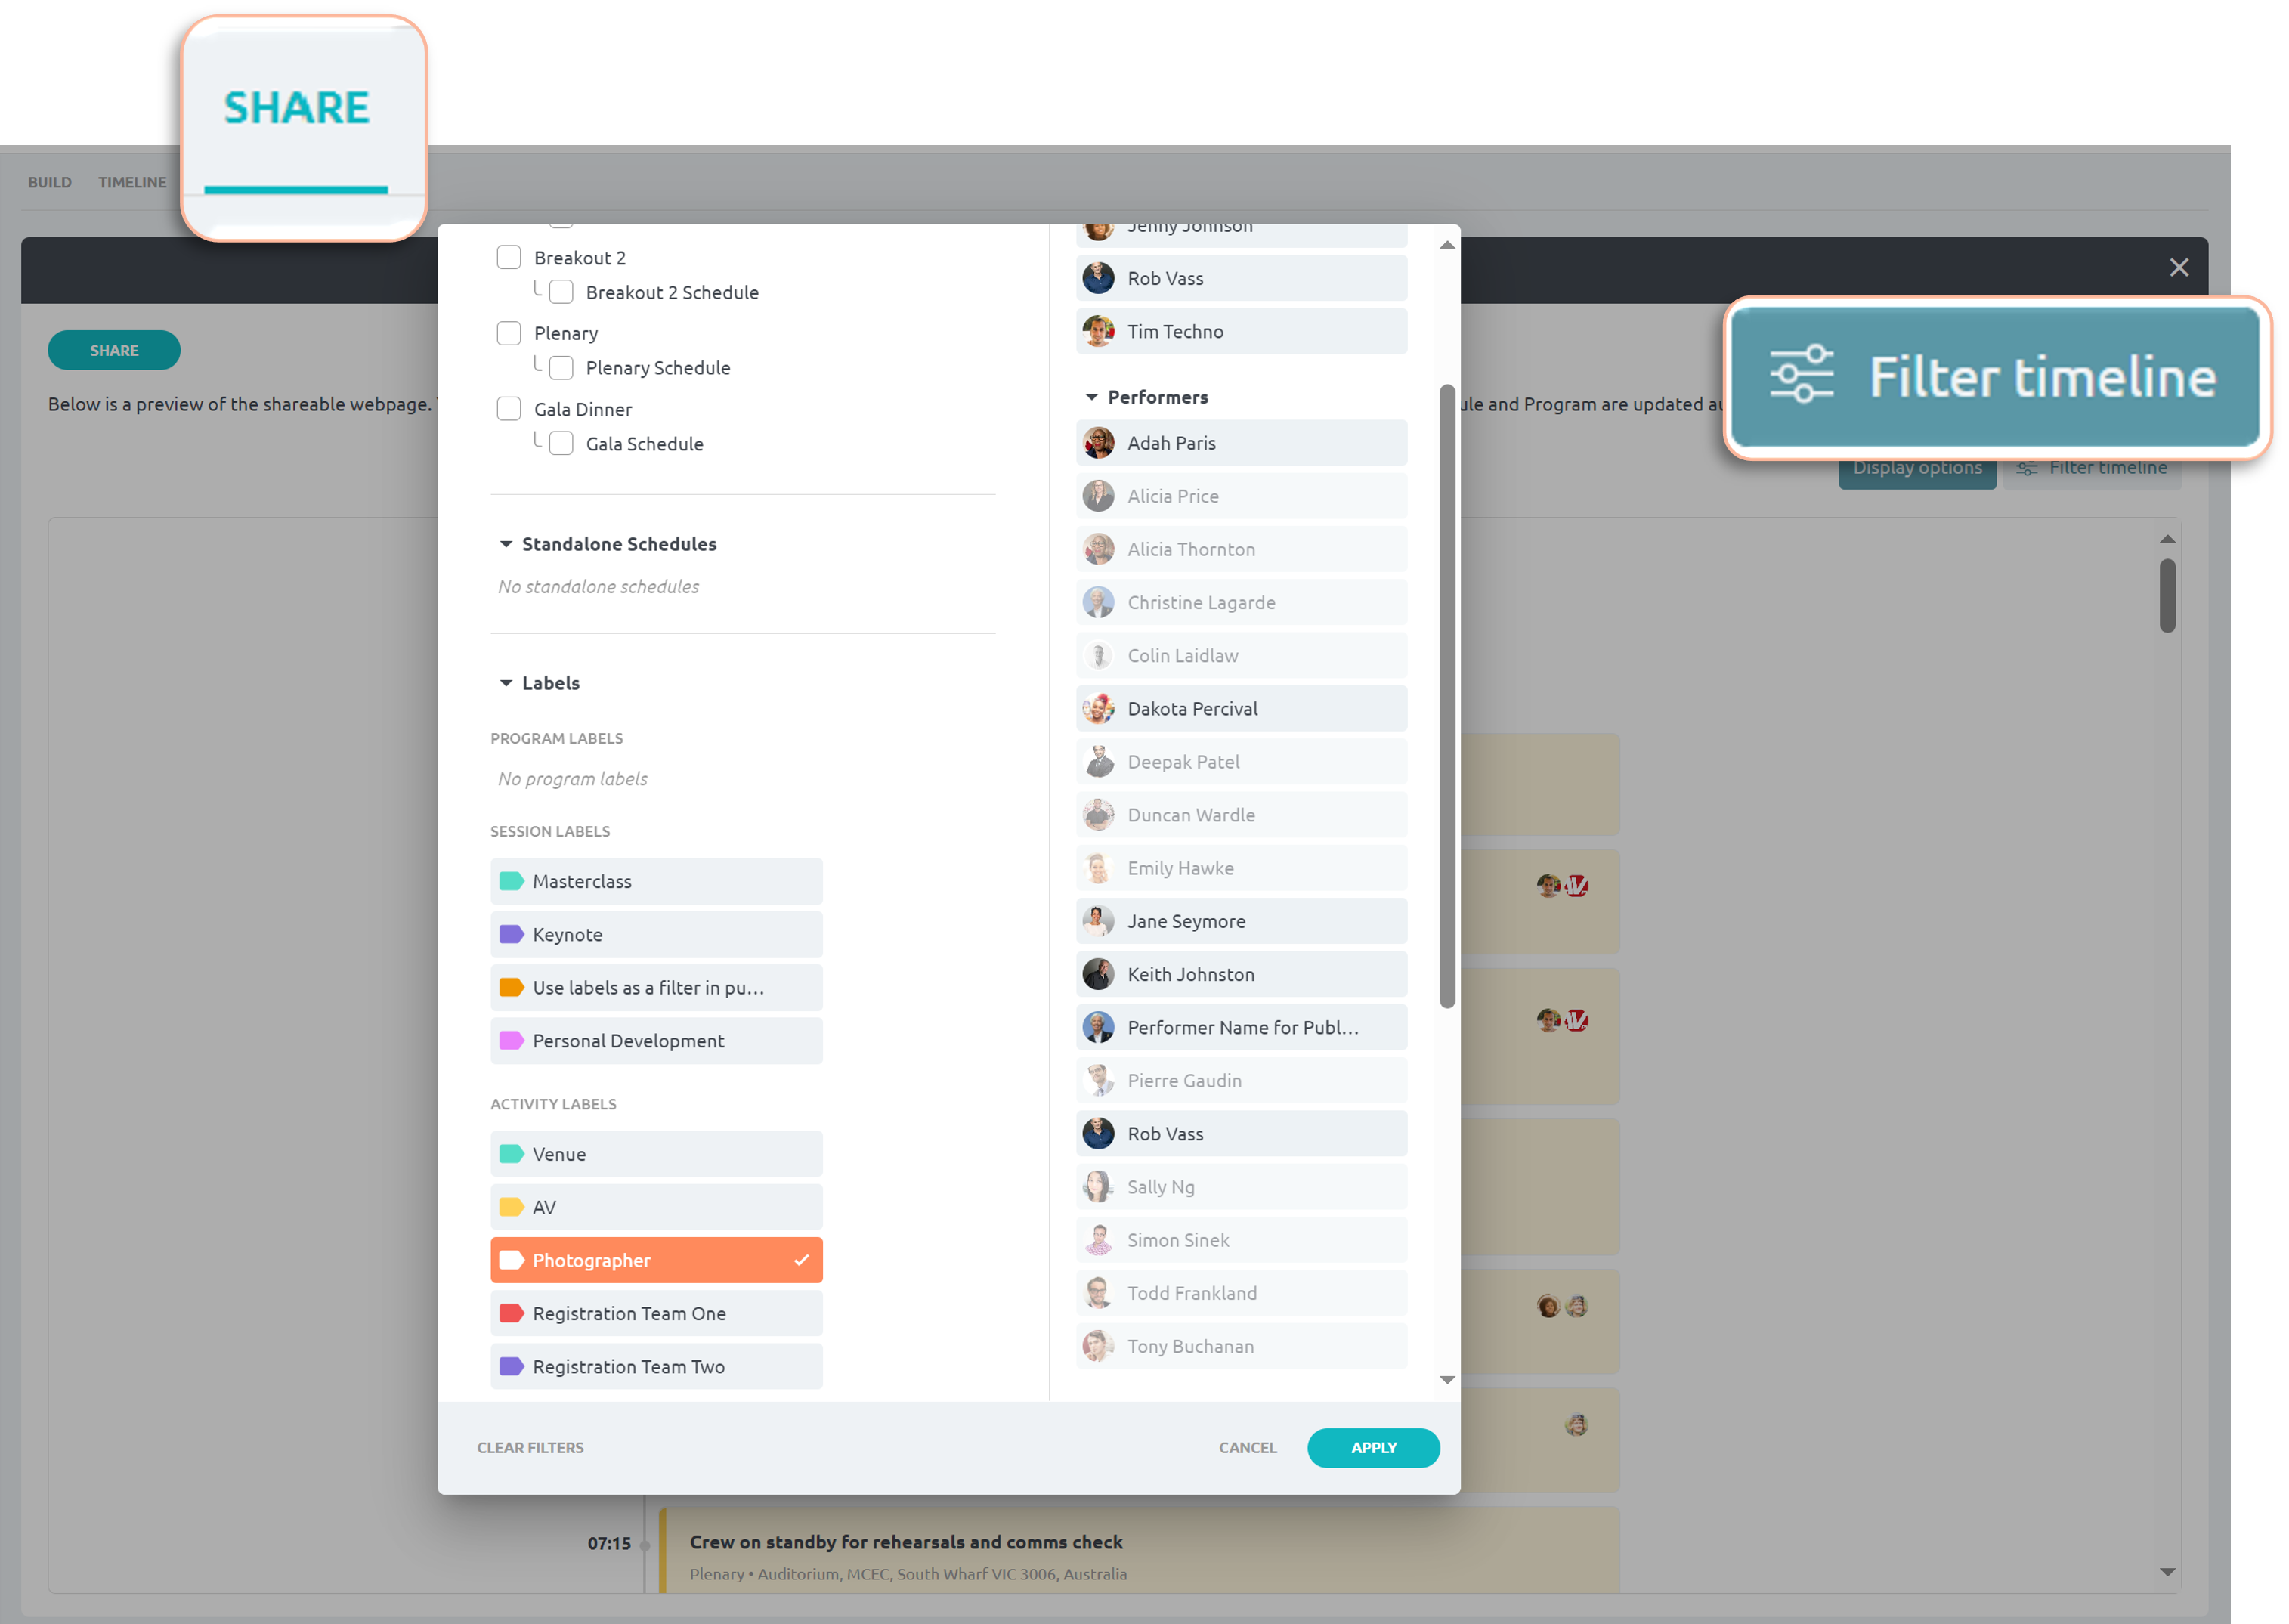
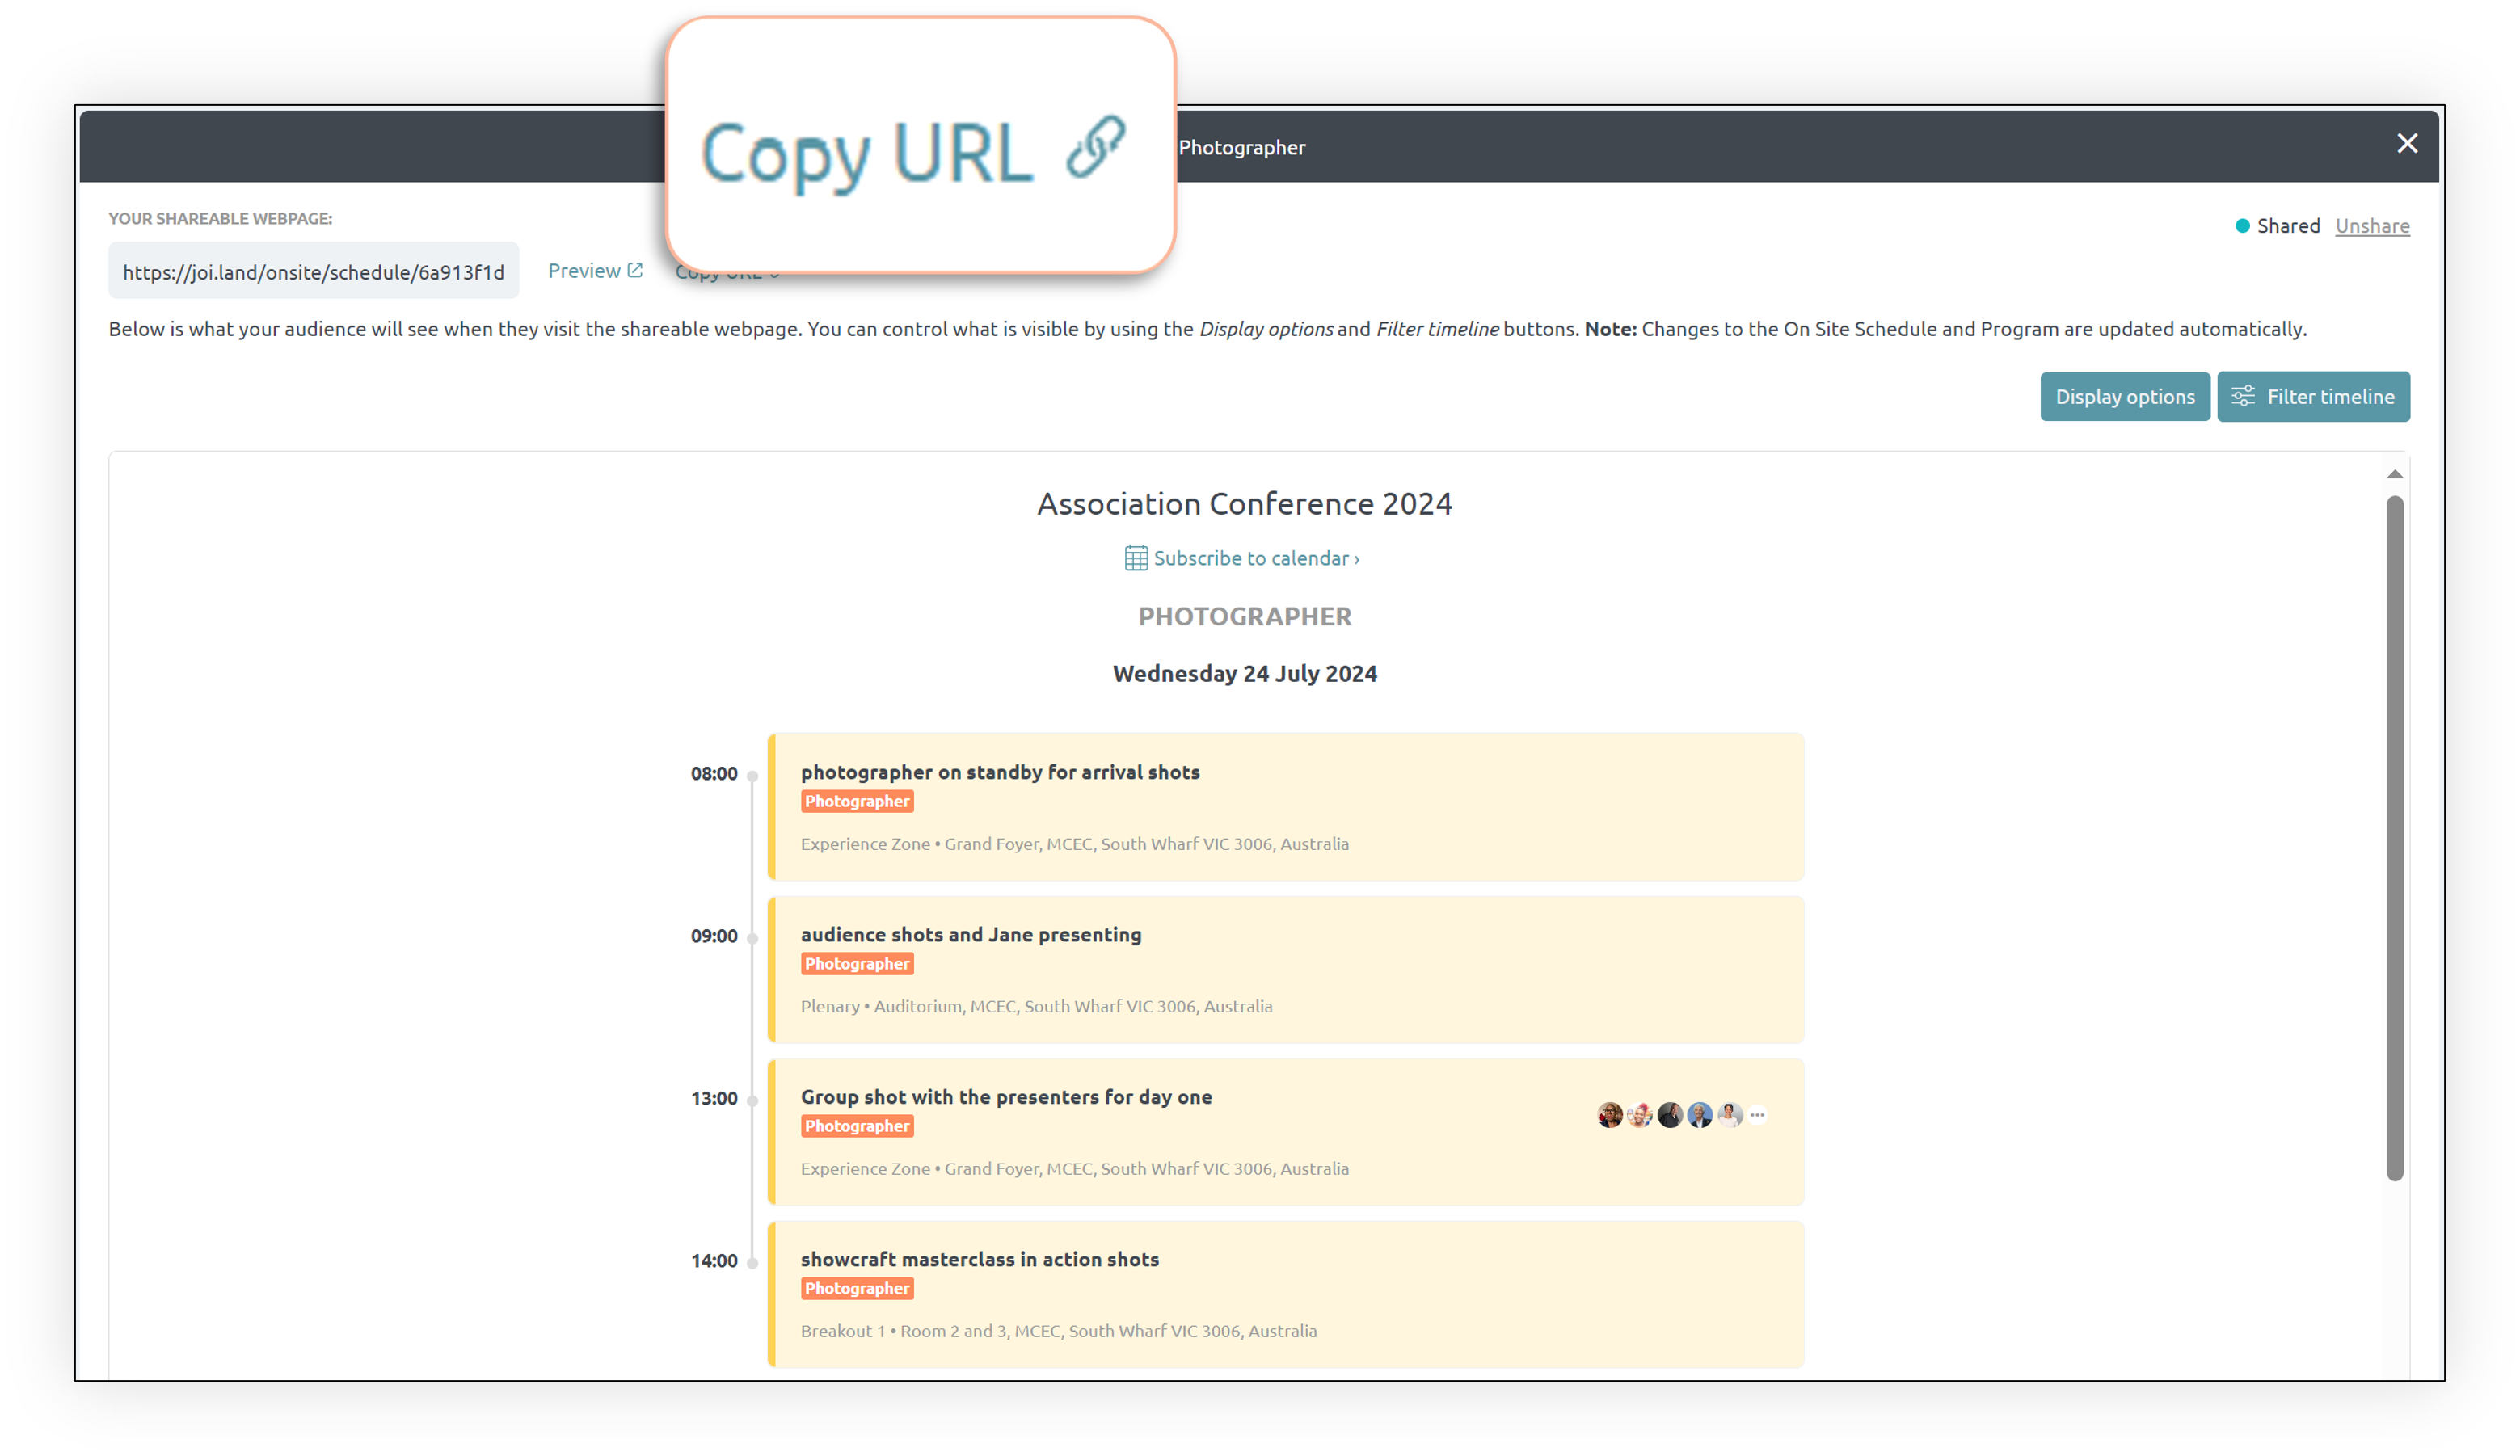
Once you have named your share schedule and applied the required filter you can send as a URL
With events, change is constant. Schedules need to be kept up to date. If you are using docs or spreadsheets this is very time consuming. This is not the case with Joi
All schedules are shared as URL's which means if you make any changes to program or schedule the URL will update automantically. Everyone is on the same page...always